
The Festive season is often a reason to make, or buy, a special new outfit to wear for office parties or Christmas Day but this year’s Festive season things will be very different for most of us. I don’t want to be entirely negative though so, as part of the Lamazi blogger team, I thought I’d make something which is a little bit Christmassy but will double up as a ‘regular’ winter dress too.
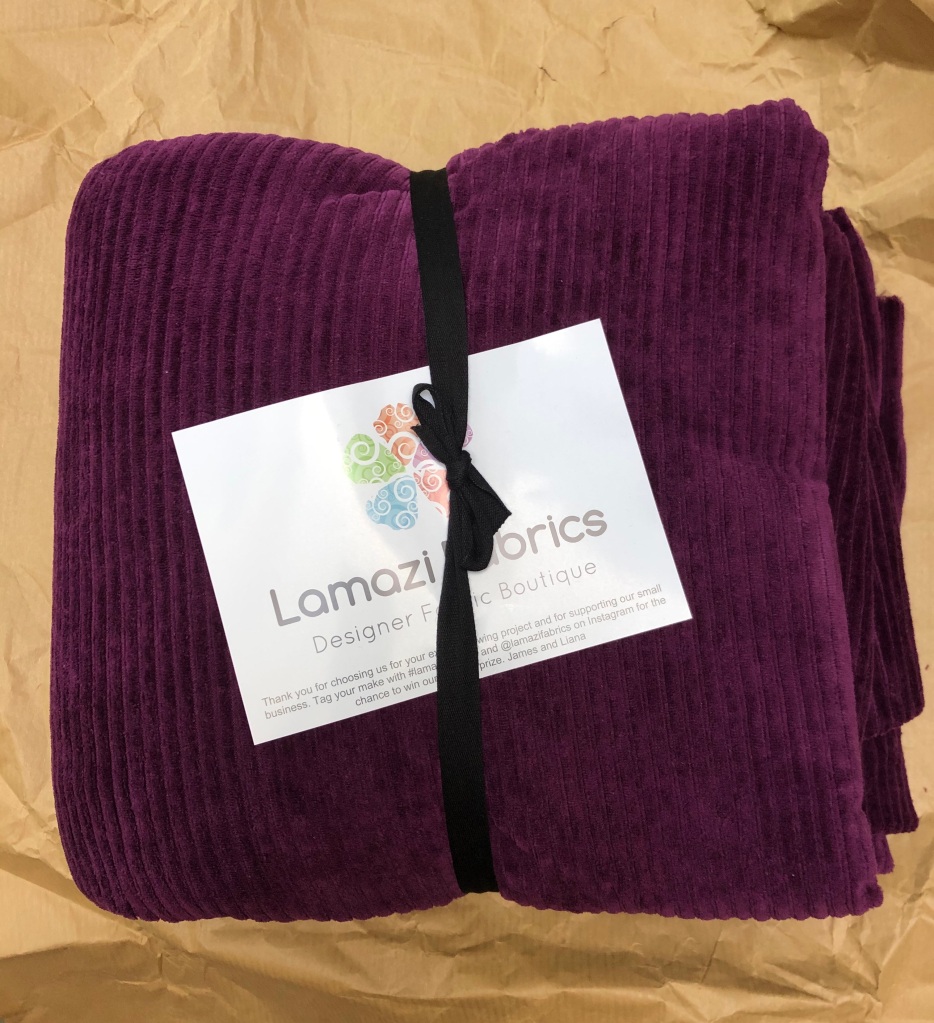
I’ve chosen the cord velvet from Danish Design in a gorgeous shade of aubergine-I’m always a sucker for purple-but it comes in several other beautiful rich shades including a sumptuous gold and a stunning teal too. I picked this fabric because it’s a medium weight stretch jersey and has soft pile which makes it lovely to the touch. I’ve made a dress but you could easily make tops or wide-legged pants in it, or babies and children’s clothes too because it’s washable and crease resistant.
Whilst I love a complex make to really get my teeth into I felt this wasn’t a garment which warranted lots of time. Making a special Christmas once-worn garment wasn’t appropriate any longer so I wanted something quite simple but adaptable and for that reason I’ve picked the Somerset T-shirt by Maven Patterns. I’ve made a few of these now, the bones of it are beautifully simple, it has a self-neatened bateau neckline, a slightly fitted silhouette and four sleeve options. I’ve chosen the Bishop sleeve with a long cuff but I’ve hacked the sleeve to make it even fuller, and I’ll lengthen the body to create a dress finishing below the knee.


The Somerset has excellent very full instructions with lots of tips and advice to get a good finish. There’s a useful sheet to write all your information including body measurements and fit alterations, and a fabric stretch gauge to check you have enough stretch for the pattern to fit properly. You can also list the needle type and size you’ve used, stitch type and length and anything else you might want to remember for another time.

To increase the size of the sleeves I took the bishop sleeve pattern and drew 5 vertical lines from each of the notches from shoulder to hem. Each segment will become slightly wider as it gets nearer the bottom edge so make sure they are even in size.


Cut a piece of spot and cross or tracing paper bigger than the pattern as it is, mark a grainline running right down the paper and then lay the pattern piece on top of it, matching the grain on the pattern to the grain line you’ve just drawn. Next, I carefully cut up to the top of the marked lines taking care not to snip right through at the top, keep it attached by a tiny amount to act as a pivot point. [If you don’t want to cut your original pattern piece I suggest you trace off a new one to use instead] Then you splay the hem edge apart by a few centimetres each, I added 2.5cms between the each of the ‘side’ segments and 5cms to the central one. By doing this you’re adding fullness at the hem but not altering the sleeve head. You could put additional fullness to the sleeve head by opening the top edge too if you wanted. I lengthened the sleeve by 5cms too so that it would have plenty of blousy fullness into the cuff.

Trace around the new shape using a tracing wheel or pencil and cut out the new piece transferring all markings. One final change I made was to add a bias grainline because I knew I wanted to play with the stripe direction of the rib on the fabric.
I had pre-washed my fabric and partly tumble dried it on ‘low’ before letting it dry completely on the clothes airer, it seemed to survive the experience just fine.
I made an arbitrary choice of how long to make the dress by simply holding the tape measure at my shoulder and seeing where it came to at about mid-shin! I attached another piece of spot and cross to the bottom of the front and back pattern pieces and drew on the skirt length I wanted, plus a generous hem. I knew I would have to make some adjustments to the hip and thigh during the fitting stage, just make sure that the hip and thigh measurements are plenty big enough because you can always remove some, it’s much harder to add later!

The ‘cord’ runs across the width of the fabric and I wanted the rib to run down the length of my dress which meant I had to fold the fabric across the width. Try not to twist the fabric if you have to fold this way, I marked a single rib by following it across the width with pins so that I can see it clearly. Fabrics like corduroy, velvet or velour have a pile or ‘nap’ which will shade so if you cut some pieces facing one way on the grain and some pieces running the other way then you will end up with a garment that looks like it’s been made with two different colour fabrics, even though you know that isn’t the case. If you’re unsure what quantity of this type of fabric to buy go with the ‘with nap’ amount on the pattern information and follow the one-way layplan to cut out.

Once I’d cut all my pieces I followed the making instructions which are very comprehensive. If you have a walking foot for your machine I strongly recommend you use it because velour like this has a ‘pile’ and has a tendency to ‘creep’ as you sew so you might find that it starts off with all the edges matching but by the time you get to the other end the two fabrics are no longer matching. I also strongly recommend you tack any seams you are unsure about. You could use a million pins but by the time you’ve done all that you could have basted it in place which does the same job and usually more effectively. I was able to coverstitch the neck and the skirt hem on the Pfaff Coverlock 3.0 I have on loan as a brand ambassador but it works just as well by overlocking the raw edges and twin-needle stitching them down, or zigzag and twin-needle, or two rows sewn singly if you don’t have a twin needle. When it comes to pressing a fabric like this, if you don’t have a special needle board (and few of us do) then you should press on the reverse at all times. You could place a towel on your pressing surface and lay the fabric on top so that the pile of the cloth is against the pile of the towel which will help protect it. Use a pressing cloth as well. These tips will also apply to regular corduroy or any non-stretch fabrics with a pile too.
The bell of the sleeve is gathered using shirring elastic which helps to retain some of the stretch required for the cuff.
Once the sleeves were in I sewed up one side seam directly on the overlocker and then pinned the other side seam to fit myself. This was because I didn’t know if I’d need a split at the hem to be able to walk in the dress and I didn’t want to end up with loads of unpicking!

I looked at the fit in the mirror first of all and the sewn side seam was quite wavy, this could be cured by either adjusting the differential feed on the overlocker so that it doesn’t happen, or you could stitch the seam on the sewing machine and then overlock the edges [This is what I opted to do because I could see I had to take a fair bit off the side seams anyway to achieve a fit I was happy with] Then I put the dress on inside out in front of the mirror and pinned out the excess. I turned it right side out and tried it on again to check the fit, then finally sewed both side seams on the sewing machine, I used a ‘stretch’ needle, a ballpoint or jersey needle performs the same task. Either use a short straight stitch or a straightened out zigzag, make some samples to see which works best for your particular fabric.


Lastly, the cuffs go on and the skirt is hemmed.
And that’s pretty much it, it pops straight over the head so no tricky closures, because of the stretch it didn’t need a split, and that means there’s room for Christmas lunch and it won’t look like a dish rag after spending the afternoon curled up on the sofa watching Christmas telly!


I have to say that I’m really happy with this dress because it ticks all the boxes I wanted it to. It’s comfortable but it looks Christmassy, it looks great with opaque tights, heels and jewellery, but also with boots, a chunky belt, a roll neck top underneath for extra warmth or a cosy scarf…and did I mention it’s comfortable! #secretpyjamas It also has the advantage of rolling up and going in the corner of a bag or suitcase and coming back out again not needing a press. Bonus!!
If you have a favourite T-shirt pattern you could try lengthening it into a dress, Tilly and the Buttons Tabitha from Make it Simple does that. You could browse the SewOver50 post I wrote listing loads of go-to T-shirt patterns for inspiration, or maybe copy a RTW one you already have?
At 160cms the fabric is very wide so a little will go a long way, and because it’s so soft it would be lovely for children’s wear too. It needs a little bit of careful handling but a lot of that is in the ground work. Make sure you lay it up and cut it accurately to minimise unnecessary stretching or distortion (try to keep it flat on the table or lay it up on the floor) pin or tack the seams so they don’t move about and press carefully as you go and you should be fine.
It’s been an incredibly tough year for so many and I wouldn’t blame you for not feeling like making anything new to wear. However, if crafting and creating bring you joy and respite then you could view it as a gift to yourself, and when you choose to buy from small companies like Lamazi and Maven then you are helping them too.
Thank you to Lamazi for providing me with the fabric for me to write my review, and I hope you find it helpful.
Until next time, Happy sewing
Sue

Looks wonderful Sue! Well done!
LikeLiked by 1 person
Susan you look marvellous! Your dress is gorgeous, the colour really suits you and that glass of rosé in your hand is obviously bringing an even bigger smile to your face!! Cheers, take care, and here’s to a much better 2021 xx
LikeLike
Thank you so much for all of the info. I need one! I made the tshirt version. I will try it
LikeLiked by 1 person
This dress is the perfect marriage of pattern and fabric and your changes make it all the better. Now I really want something with a bishop sleeve. Your happy smile says it all. I saw you in the Fold Line newsletter.
LikeLiked by 1 person
Thank you
LikeLike
You look fabulous! I think you’re so right about needing to find as much as we can to bring joy and comfort this Christmas x
LikeLike
you’re very kind, thank you
LikeLiked by 1 person