
This is an edited version of the original post from 4 years ago. Not all the pictures are here but I hope you get the gist of the jacket refashion. Sue
I’ve never been a great one for up-cycling really, I guess as a former sample cutter I always enjoy the challenge of cutting something new out of fresh fabric in an economic or inventive way. I think that’s probably the same reason I’ve never bothered with quilting or patchwork-cutting fabric into small pieces and then reassembling it in a different order-not for me I fear. Mind you, back in the day we were less concerned about ‘reduce reuse recycle’ than we’ve since, thankfully, become.
Anyway, at the beginning of August, Portia Lawrie announced that her Refashioners 2016 competition for this year would be to turn jeans into…something else, anything you like! Last year’s theme was shirts and I saw plenty of imaginative ideas where mens shirts became dresses, skirts, different shirts and the winning entry was trousers!
Anyway, I was pondering vaguely on the theme (almost entirely driven by the amazing prize-package that was on offer, the prospect of fabric/patterns/sewing books is enough to stir me into action) and thinking that I didn’t actually have any old jeans in the house to cut up-my girls wear way too many stretchy skinny jeggings to be useful and Mr Y is a keen believer in wearing things to infinity and beyond!
However, as luck would have it, Mr Y was having a rare ‘turn out’ and what should I find but TWO pairs of almost identical jeans…except they weren’t denim jeans, they were corded drill (looks like corduroy but not fluffy) Would they do? a quick email to Portia who said she thought they would. Excellent-green for go!
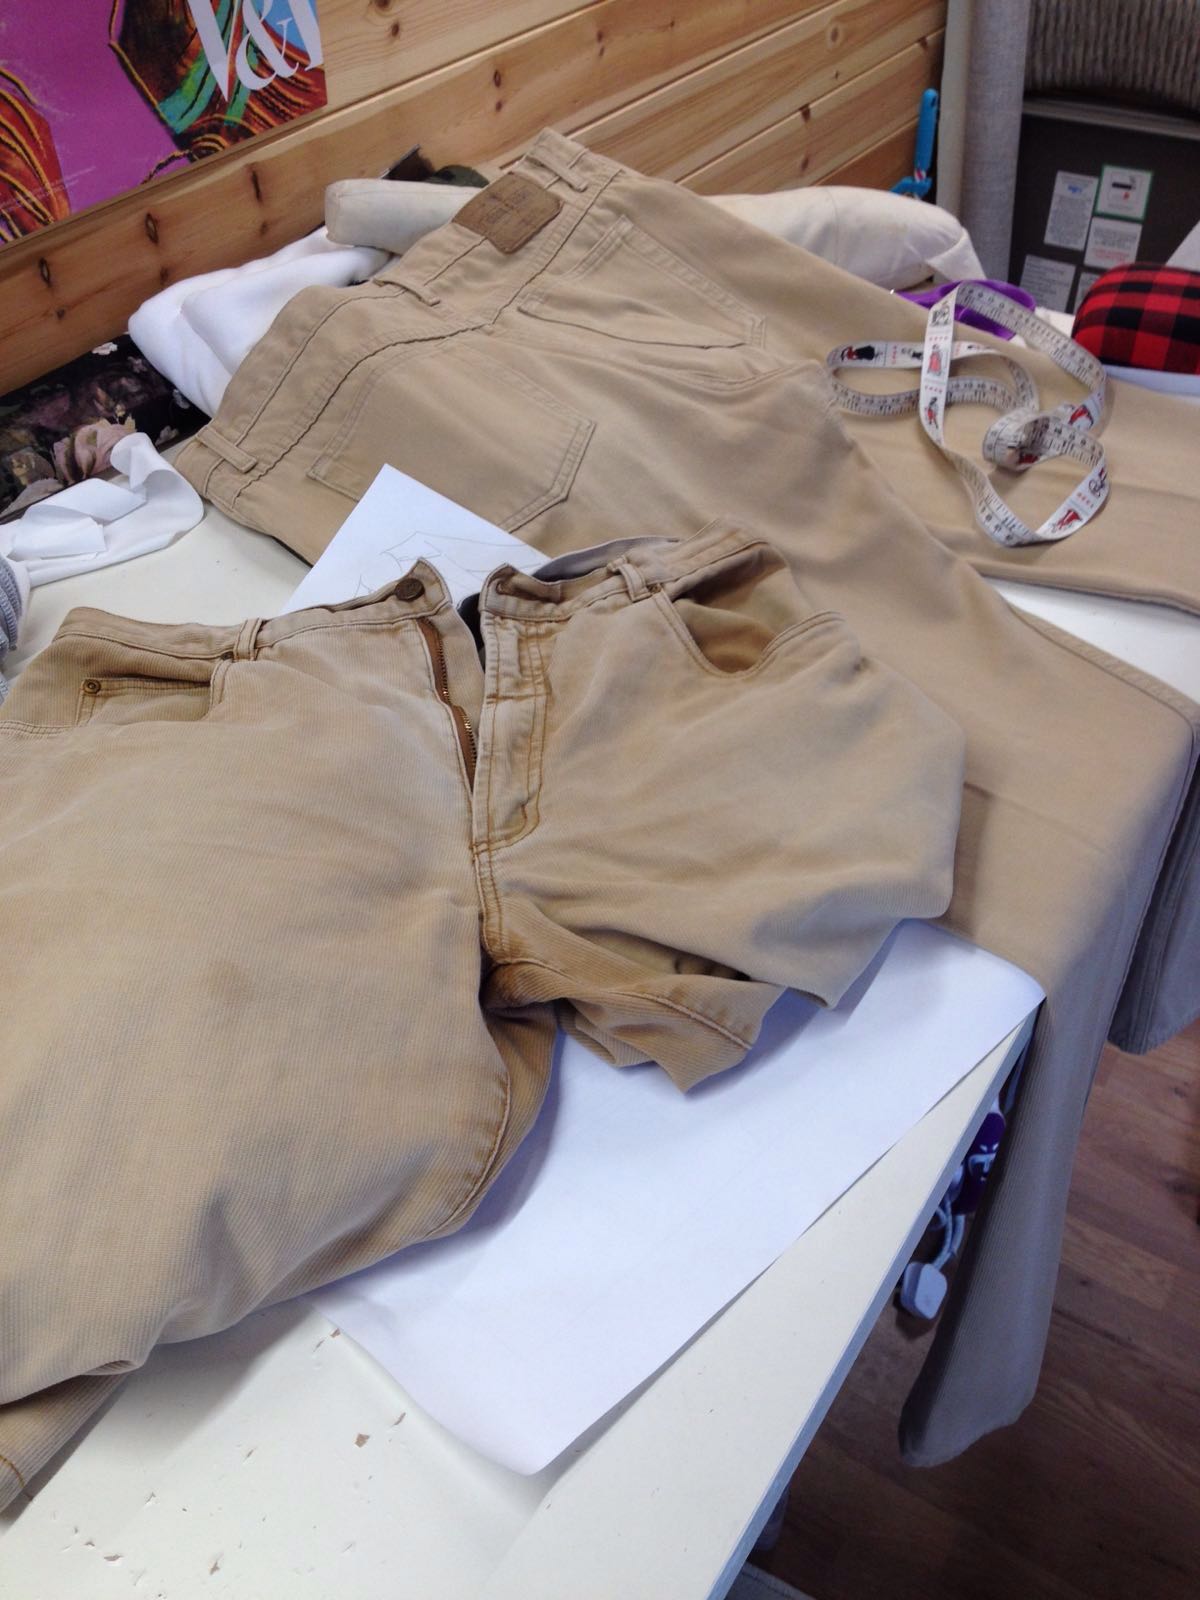


The next issue was that they weren’t even blue, they were very similar, very well washed shades of stone/sand/beige…you get the picture? Then I remembered I had a packet of unused Dylon machine dye in indigo-score!
So I set about unpicking the offending trousers…this took rather a long time to be truthful and made a huge mess with all the threads everywhere on the carpet in my workroom, Threadquarters.
I didn’t have a clear idea of what I wanted to make but I knew that the more useable fabric I could harvest the better. Once I’d taken everything apart I had four legs with side seams still intact, two waistbands with pockets attached and two zips removed. I popped the whole lot in the washing machine with the dye and 500grams of salt, you run the hottest cycle and then, when it’s complete, you run the whole cycle again with detergent. This is to remove any excess dye and also wash the machine out too (although the next proper wash I did was a dark one just to be on the safe side) I was pretty pleased with the outcome. The two pairs were by and large virtually the same colour now, interestingly the top stitching on both hadn’t dyed as the thread must have been synthetic, and the zips hadn’t either. That was a pity because I thought I might have been able to use them but they were just different shades of brown now-yuck.
After a lot more thinking, and sketching, I settled on a jacket for myself because I took the view that if I was going to spend such a lot of time on this with not a lot of realistic hope of winning I wanted to at least have something I’m happy to wear!
To work! I had a rummage in my-ahem-extensive collection of patterns to see what I had that might be basis to use. Most jackets I’ve made were years ago so they’re all a bit 80’s tailored but then I came upon a pattern from the 1970’s that my neighbour had given me when she was having a turn out (more recycling?) The jacket in itself wasn’t something I’d wear but I loved the curved bust dart in the front, it was collarless and edge to edge and the back was in two pieces.
All this meant that it could be a go-er. I spent a while fiddling with the pattern pieces and the trouser legs to see what was going to go where. Because I wanted a shorter length jacket that helped, the front would fit on to include the original side seams and the back would go above that with a modification, and the sleeves would come out of the other legs. They were all mostly on grain which pleased me a lot. (When things aren’t cut on the grain or on the bias they can go very wobbly when sewn up)
I forgot to mention that I decided to trace off a new spot and cross copy of the original as it was quite tatty, and I was shortening it anyway.
Because the back wouldn’t fit on without overlapping the front I chose to add a panel in the back so that it became four panels. This isn’t difficult, I just drew on the new seam line where I wanted it, added seam allowance of 1.5cms and a balance mark to the back panel section and cut it off. The remaining new side panel then needs the 1.5 cms added back on plus another 1.5cms for its own seam allowance. The photo should clarify this a little.
Once I’d got the panels sorted I could pin them onto the fabric.
I tried as much as possible to keep things on a proper grain line so that they behaved when I started sewing them together. Out of the other legs I cut the sleeves which I positioned so that the original seams ran straight down them. One of the things I liked about the pattern was the little elbow darts which would give them a cheeky feature.
Another rummage in my stash found me an open-ended zip in blue, I’d decided to tidy up the inside-and make it a bit more individual-with pretty bias binding. I managed to cut front and back neck facings out of what I’d got left from the sleeve leg.

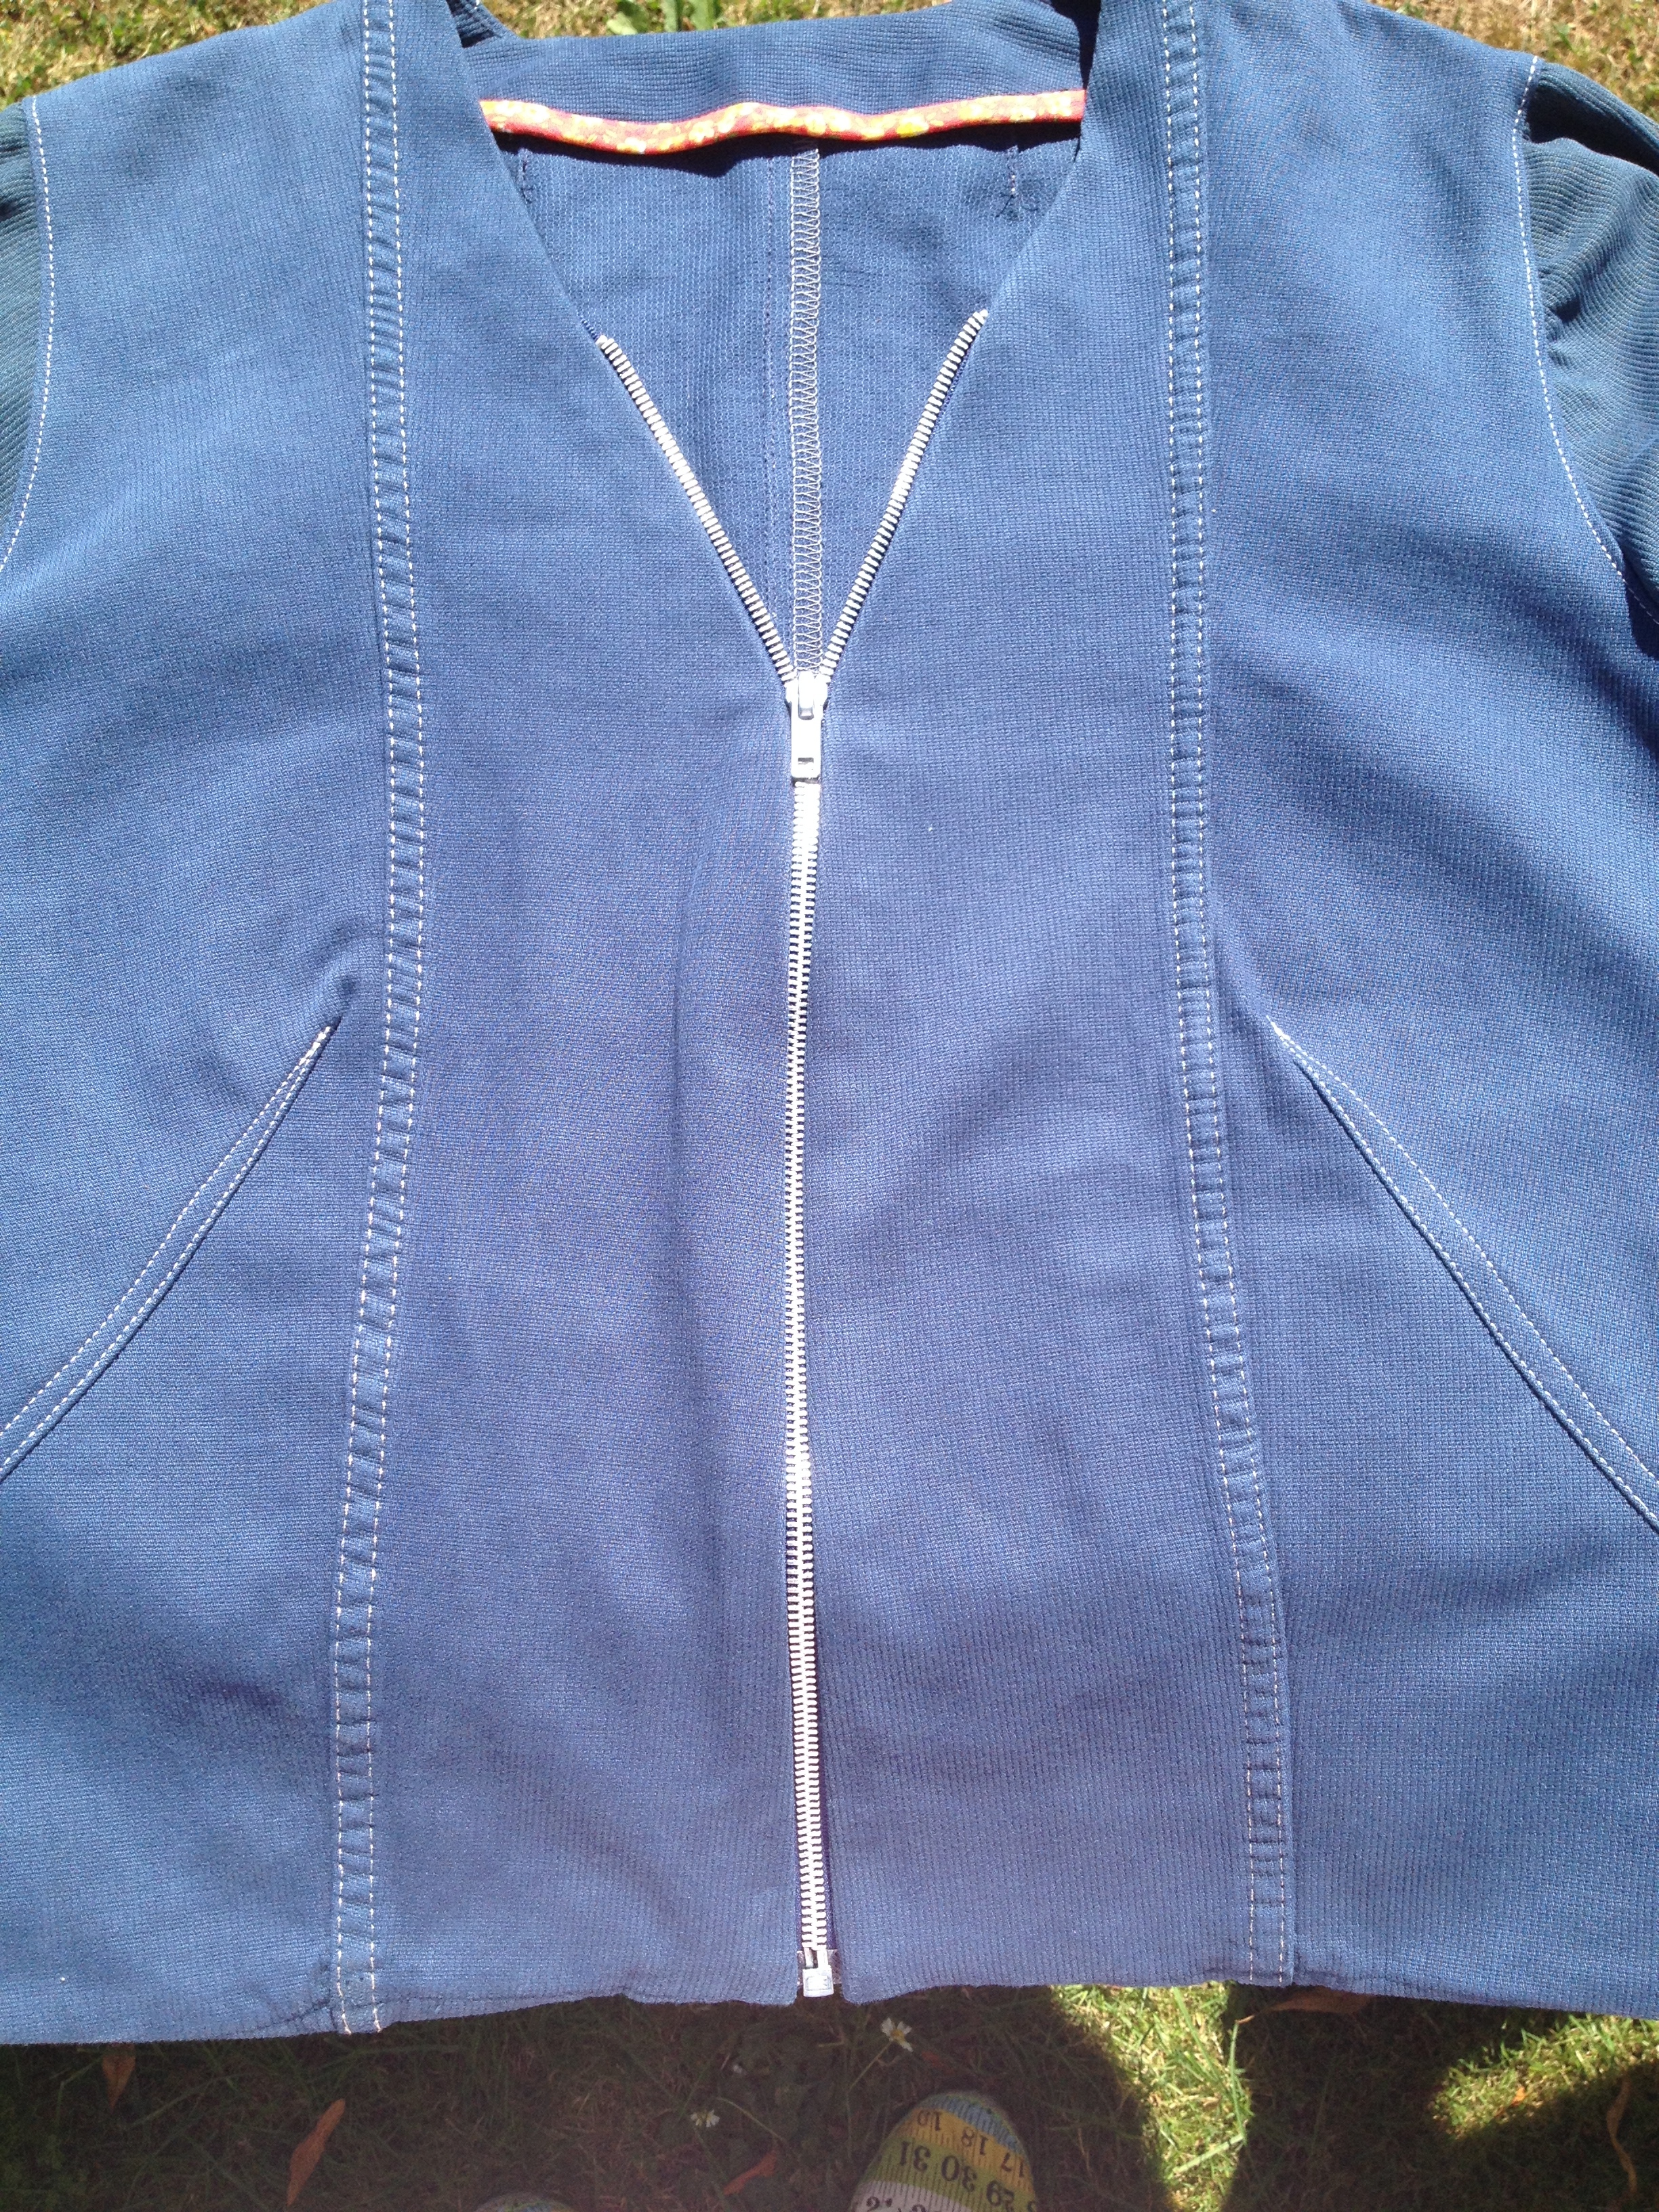
Sewing the jacket together was very straightforward after that. I top stitched most of the main seams in part to match them to the originals and to link it all together, this meant I had to put the sleeves in on the flat rather than set-in but they look ok.


Because the zip was too long it gives an interesting finish to the neckline where there’s a section at the top that doesn’t do up, which I like. I wanted to use the pockets too but I didn’t want them spoiling the outside clean lines so I devised a way of having them on the inside.


The lower facings (cut from more scraps) fold up to neaten the bottom edge of the jacket.
I ran out of the red binding but I found about a metre left of the binding I made to go on my favourite dress so I used that instead. I understitched the lower edge in a fluoro-pink thread (just because) and then slip stitched the facing in place by hand so that it didn’t show through on the front. [I put binding on the cuff edges too so if I turn them up it’ll be visible]
I think the internal pockets might be quite useful if I ever go poaching!!


The only bits I didn’t find a use for in the end were the waistbands. I thought I might have used them on the lower edge but in the end I decided I didn’t really want the band on it and I wasn’t sure poor my machine could cope with the number of layers that it would have to sew through.
So there you have it, my entry to The Refashioners 2016. I’m really pleased with the outcome, it’s a tad big but that’s fine and it’s totally wearable. I used jeans that were headed to the charity shop (or even the bin), a gifted vintage pattern, binding I already had and a zip from my stash, a win all round I think. Needless to say I didn’t win the big prize but I did get an honourable mention in dispatches.
The jacket got its first outing in the wild, on the way to the first Sewing Weekender in late August 2016. I’m very happy with it and I’ve had loads of wear out of it. I think it achieved my aim of not looking too much like a thing that’s been made from something else and being not very good in the process. I’ve never really aspired to being designer so I know there will be far more original ideas than this but I want a garment that is wearable and useful to me and no one else. I hope you agree…although you probably wouldn’t say if you don’t!

If you’re reading this in 2020 (and what a very strange year this has been!) you might have seen me wearing the jacket for my first trip back to the V&A museum in almost 6 months, the wearing of face masks being compulsory. I’m wearing it with a linen Trend Patterns Bias T-shirt dress which I included in a review here. The exhibition is Kimono: Kyoto to Catwalk which I also reviewed earlier in year. My hair has grown quite a bit too!

Again, apologies for the gaps in the original photos but I hope you get the general idea of this refashion.
There are a quite number of blogs and websites out there that can give you ideas and inspiration for this kind of project and Portia’s own is as good a starting place as any, she’s a great advocate of refashioning with so many clever ideas and in 2020 this is still very much the case.
Happy Sewing
Sue xx

#sewcleverSue
I love this jacket, especially the binding and the pickpocket pockets 🙂
LikeLiked by 1 person
Thanks Janet x
LikeLike
So glad I came over and read this it’s bloody fantastic Sue!!! The insides are a dream 😍 and i love how the zip looks too!! You should be really proud!!
LikeLiked by 1 person
Thank you so much Susie x
LikeLike
Love this jacket Sue and it looks so good with my favourite dress!
LikeLiked by 1 person
The jacket looks really great. I agree, if you are going to put so much work into refashioning, you want something wearable, and you definitely have achieved that!
LikeLike
Thank you Annie!
LikeLike
Love this…. it turned out lovely. I too like the cute dress. They fit together well. Great job.
LikeLiked by 1 person
its gorgeous, love that inside pocket……great job
LikeLiked by 1 person
Echoing the other comments – fantastic job and it looks fabulous.
LikeLiked by 1 person
Super great jacket, Sue. And a very interesting repurposing/refashioning!
LikeLiked by 1 person
thanks Wis! It’s a while ago but at least I can honestly say I use it!
LikeLike