
Two years ago one of my early makes as a Simple Sew blogger was the Kaftan pattern made in a tropical print cotton lawn kindly given by Doughty’s online fabric store. It was very much a ‘holiday’ garment but, even so, I didn’t wear it as much as I’d hoped because whilst the fabric was quite lightweight there was too much of it around my legs, it was probably a size too large and the whole thing just looked quite bulky. It would have been better in something like a very lightweight cotton voile or Batiste, or a printed chiffon or georgette as a swimsuit cover-up.


Anyway, rather than make another new garment for my next Simple Sew post I’ve decided to refashion the Kaftan into pyjamas instead, retaining the top section and cutting shorts from the remainder using the Lapwing trouser pattern.
I studied myself in the mirror wearing the Kaftan and decided to reduce it to approximately 25cms long from the original waist seam at the side-I would make it level all the way around although the waist seam rises up at the centre front. With the remaining fabric of the skirt I would make the shorts
I took the cord out of the waist and initially decided I would replace it with elastic instead although eventually I changed that plan. I felt the sleeves were a bit long and restrictive to sleep in so I shortened those too by about 5-6cms. I removed the pompom trim first although I didn’t reuse that in the end because I opted to create a curved opening on the shoulder seam instead, to soften the lines.


I partly unpicked the shoulder seam and overlocking sufficiently far that I could re-overlock the edges singly and then roll hem finish them so that the overlock stitches were enclosed.


newly overlocked sleeve edges 
turning and stitching to create a rolled hem
I also took quite a bit of fullness out of the bust section at the underarm so that it would fit closer to my ribcage, I didn’t remove any corresponding fullness from the newly-shortened skirt though, I simply pleated it up to fit the top part and rejoined them together at the waist seam.
I neatened the new hem using the overlocked rolled hem method again and finally trimmed the waist seam with co-ordinating pink rick-rack from Backstitch. I decided against putting elastic in the original casing because I felt it would ride up while I slept and become annoying around my ribcage. This has proven to be the right choice because the top is comfortably loose without being huge.
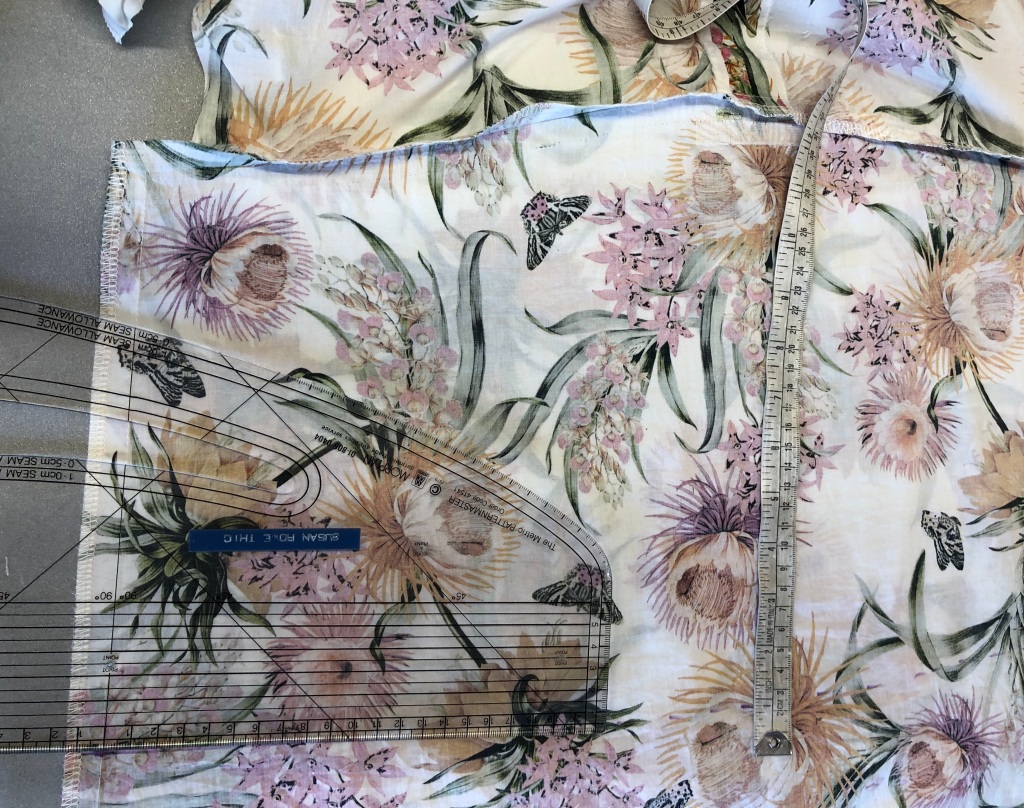
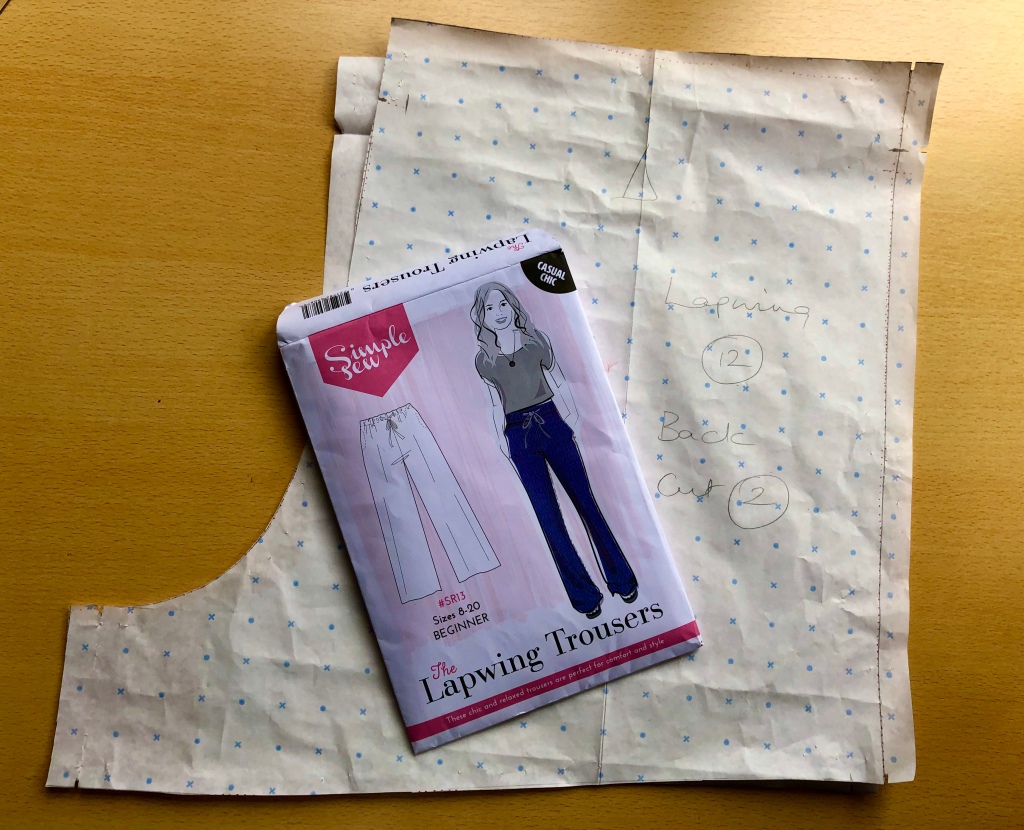
Moving on to the shorts, I used a RTW pair I’ve had for years to compare measurements and also to compare against the size chart for the Lapwing trousers. I traced off the pattern in a size 14 because I wanted to create a hem similarly-shaped to my RTW ones for the shorts, they have a slight upward curve at the side seams (I dithered about adding side pockets as per the pattern but in the end I left them out, I thought about adding a patch pocket on the back instead but I didn’t do that either!)
I was able to fold the original front skirt section down the centre front line and cut a pair of front shorts pieces from that. I placed the piece as near to the top as possible so that I had the maximum amount of fabric left to cut the bias strips from.

As is very often the case the back section of trousers was bigger than the front so this meant I couldn’t cut it out of folded fabric. I laid the fabric out flat instead and cut them singly using the centre fold as my guide for the grain and making sure to flip one so that I had a pair, not two the same!


In order to hem the curve I made a wide bias band pattern piece which, ideally, I would have cut one for each leg but the remaining pieces of fabric from the front skirt didn’t allow me to do that so I cut several shorter pieces which I joined to make a long enough strip.


I joined each side seam first, neatened it and pressed towards the back. Having joined the bias strips I pressed over one long edge by 1cm. In order the self-neaten the hem I placed each strip RIGHT side to the WRONG side of the shorts (see photo) and stitched it in position.

Then the strip flips up to the right side, thus also being right side out and enclosing the raw edges. You could simply top stitch this in place along the folded pressed edge or add a trim, I put more rick rack on here to match the top. Now sew up and neaten the inseams.

The rest of the shorts were very straightforward, I placed one leg inside the other so that the crotch seam was right sides together then stitched it twice a couple of millimetres apart before neatening.

I pressed over the top edge by 3.5cms then made two round-ended buttonholes for the ribbon to come through at the centre front. Next I top stitched close to the top fold, then sewed another row of stitching 3cms from the fold to create the elastic channel. I measured my elastic for a comfortable fit and added a short piece of dusky pink ribbon (which probably came off a gift bag or something) to each end of the elastic. I slotted this through the buttonholes and then secured it so that the elastic was just out of sight with only the ribbon showing through the button holes. Job done!


I’m pretty pleased with how my new pyjamas have turned out, I reckon I’ve already worn them more times than as a kaftan so that’s got to be a good thing, right? At least this pretty fabric isn’t languishing in the wardrobe waiting for a warm sunny holiday which is nowhere on the horizon any time soon!


I’m a bit uncomfortable about sharing photos in my PJ’s but it’s in a good cause I guess.
Until next time, happy sewing
Sue

Awesome job! And now you’ll get some use out of that gorgous fabric. I love the ric-rac addition too!
LikeLiked by 1 person
They look great.
LikeLiked by 1 person
Hi Sue
Gorgeous transformation. As no one is going on holiday at moment this is a great way to make use of an item of clothing that for now can’t be worn.
Ps. I still have the fabric we bought in carribean a few years back. But have started to make something this weekend. In anticipation of a future holiday. Xxxx
LikeLiked by 1 person
Ahh, future holidays…🤔😎😊
LikeLike