
Over on the @SewOver50 account recently I shared a few of my favourite ways to finish hems or raw edges, although course it is absolutely NOT a definitive list by any means. I thought I would expand a little here on the blog using more photos of projects I’ve made in recent years. They are in no particular order either and if I wrote a blog post about the whole garment then I’ve linked it so you can read more if you want to.
Obviously there are the usual hand-finished hems using slip hemming stitch or herringbone stitch for example, which I use a lot too, but I thought I’d share a few alternatives which you might not know, or haven’t used for a while.
I’m beginning here with a faced hem…


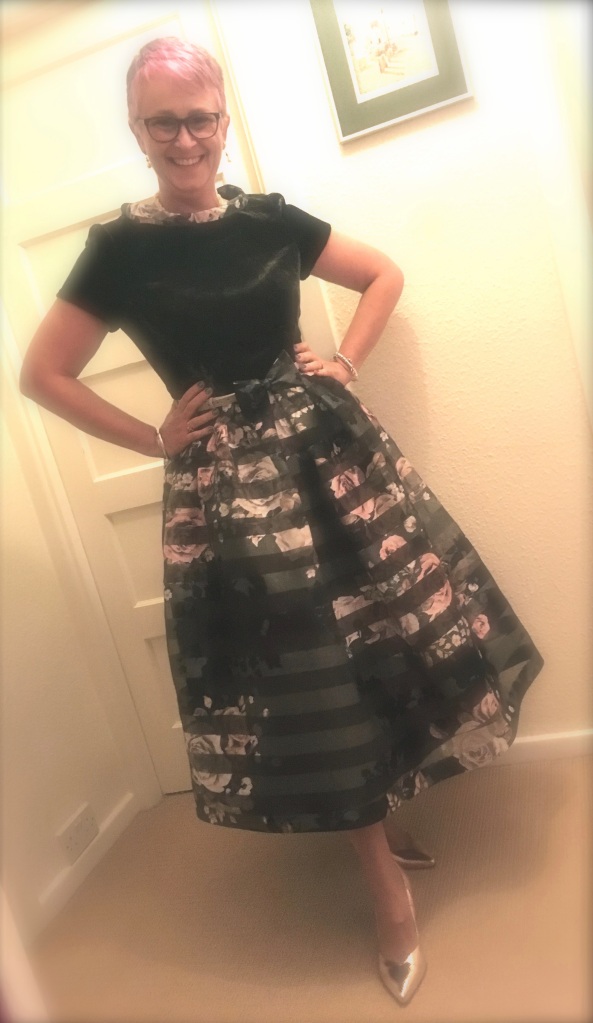
The next one is an interesting hem finish which is very useful especially if you want a quality finish on evening or bridal wear. It uses something called ‘crin’, crinoline or horsehair braid (it doesn’t involve actual horsehair any longer though!) I’ve used it here on an organza skirt for the Dior New Look-inspired evening dress I made 4 years ago. As well as a crisp finish I wanted the hem to have distinct body and wave to it so this was the ideal technique. Crin comes in various widths, this was 5cms, lots of colours too because it’s more commonly used these days to trim hats and fascinators.
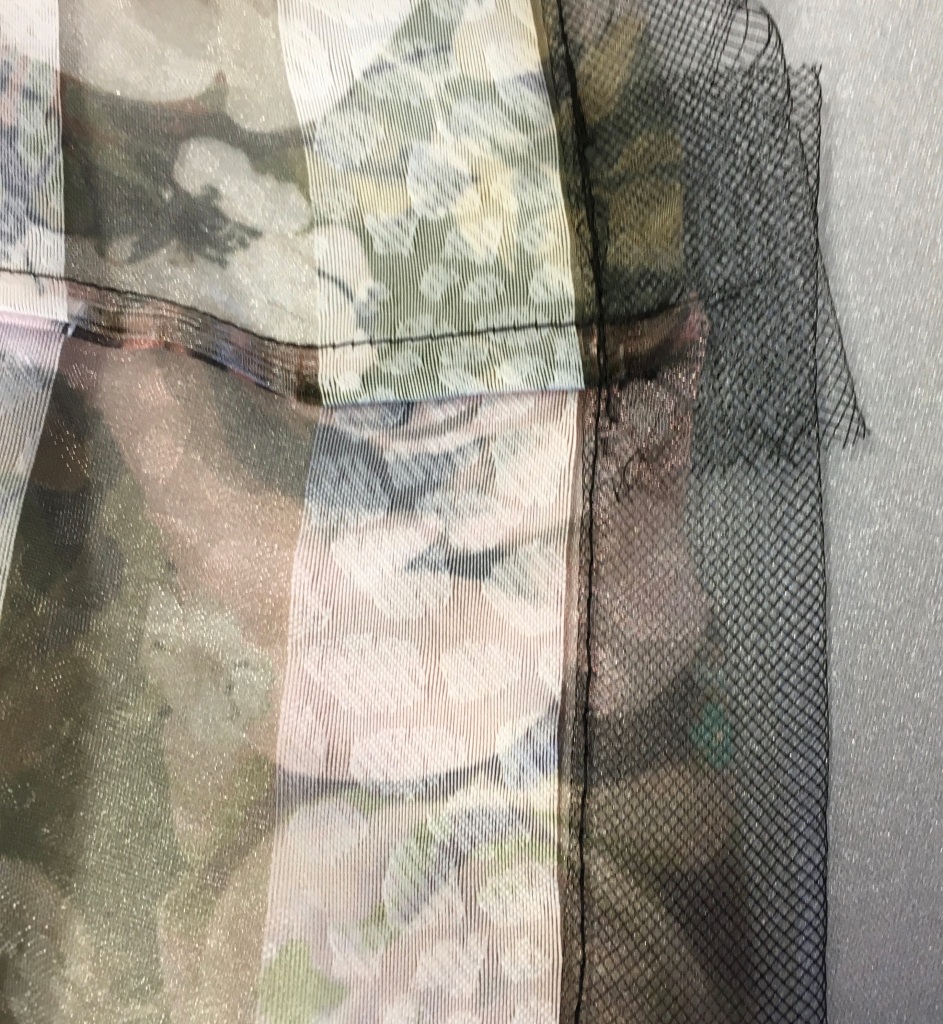

If you’re making a wedding dress for example and mounting all the skirt pieces onto another fabric, when you use crin on the hem (or bias binding for that matter) by hand-sewing the hem all your stitches will be invisible because you can catch them just through the mounting fabric. This is a couture technique so if you look at red carpet dresses with no visible stitching at the hem this will be how they achieved it. You can apply it as appropriate to any garment that you’ve mounted to another fabric though.
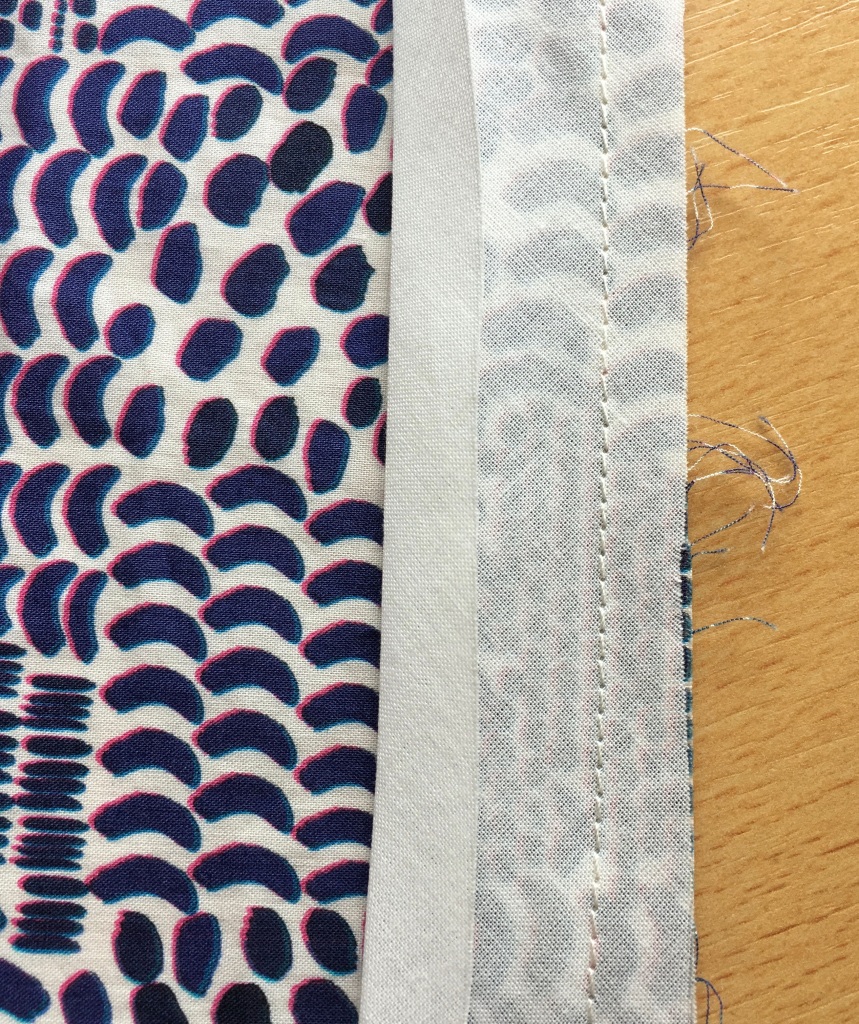
The next couple of photos are where I’ve used bias binding to neaten a hem. I find this a really useful technique if you need the maximum amount of hem because you can sew a very small seam allowance. It’s good if you’re letting down hems to gain length too, on trousers or children’s clothing for example.


If you have fine fabric why not consider using your overlocker if you have one on the rolled hem setting? Refer to your manual for specific instructions how to adjust your machine and make samples first to ensure it’s going to be satisfactory for your particular fabric. You’ll frequently see it used on chiffon or georgette but I’ve used it successfully here on fine cotton lawn, jersey and a stretch velour. If you don’t have an overlocker you can probably achieve a similar finish on your sewing using a rolled hem foot ideally and a small zigzag stitch-as always I would urge you to experiment to see what is possible. Some of the simplest machines can still give you an interesting variety of finishes.


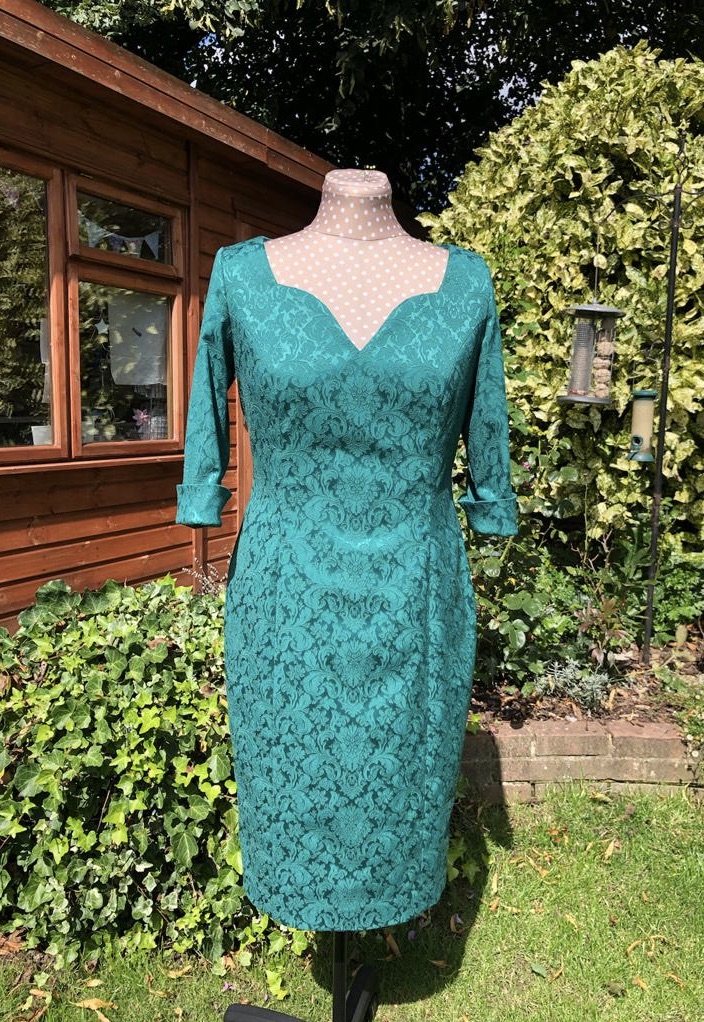
I find the next couture/tailoring technique very useful on sleeves as well as coat, jacket or dress hems. I’ve used it here on my Tilly and the Buttons tester-made Eden. I wasn’t taught this method as such, I discovered it for myself whilst doing alterations taking up sleeves for people. I haven’t ever encountered it in pattern making instructions but I think it’s an excellent way of stabilising the cuffs of coats and jackets.


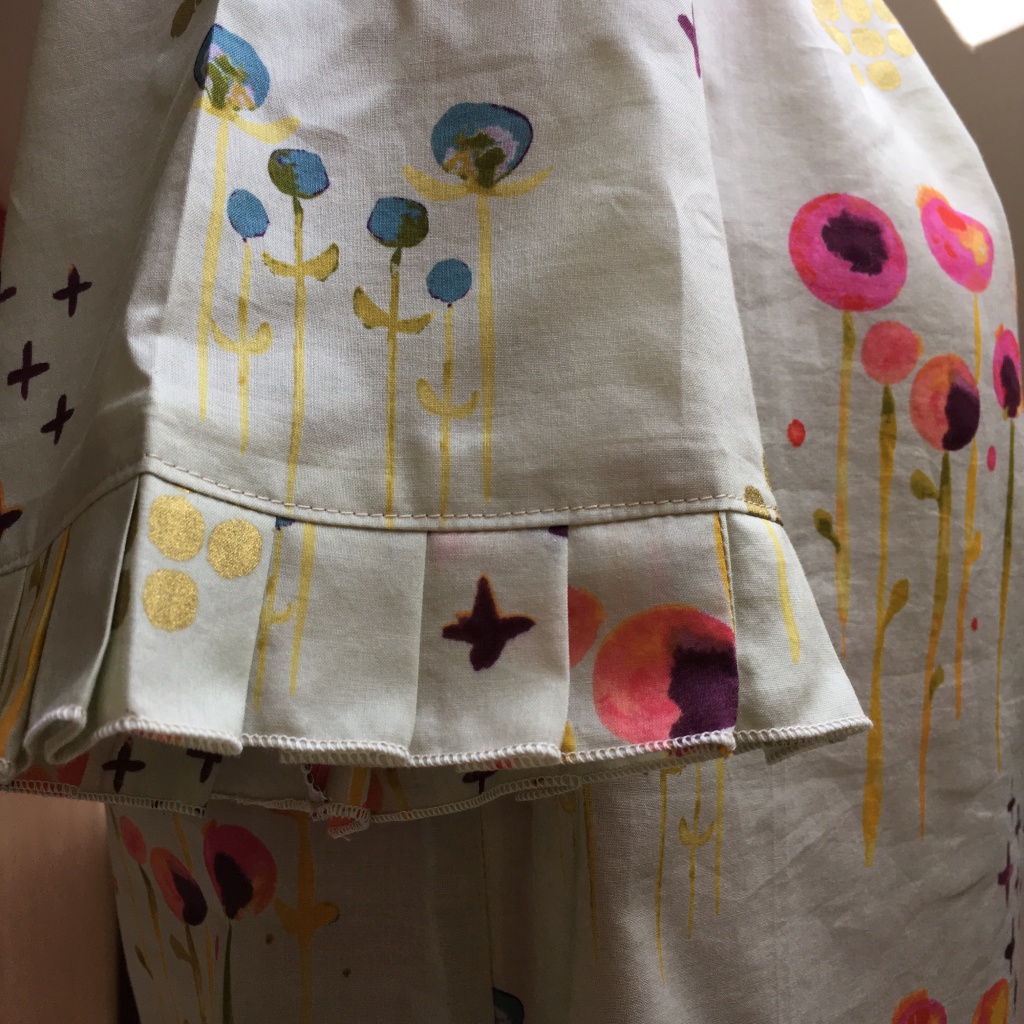
For this next finish I’ve used a triple straight stitch to create the effect of top stitching on the hem, and several seams, of this Simple Sew Zoe hack I made last summer.


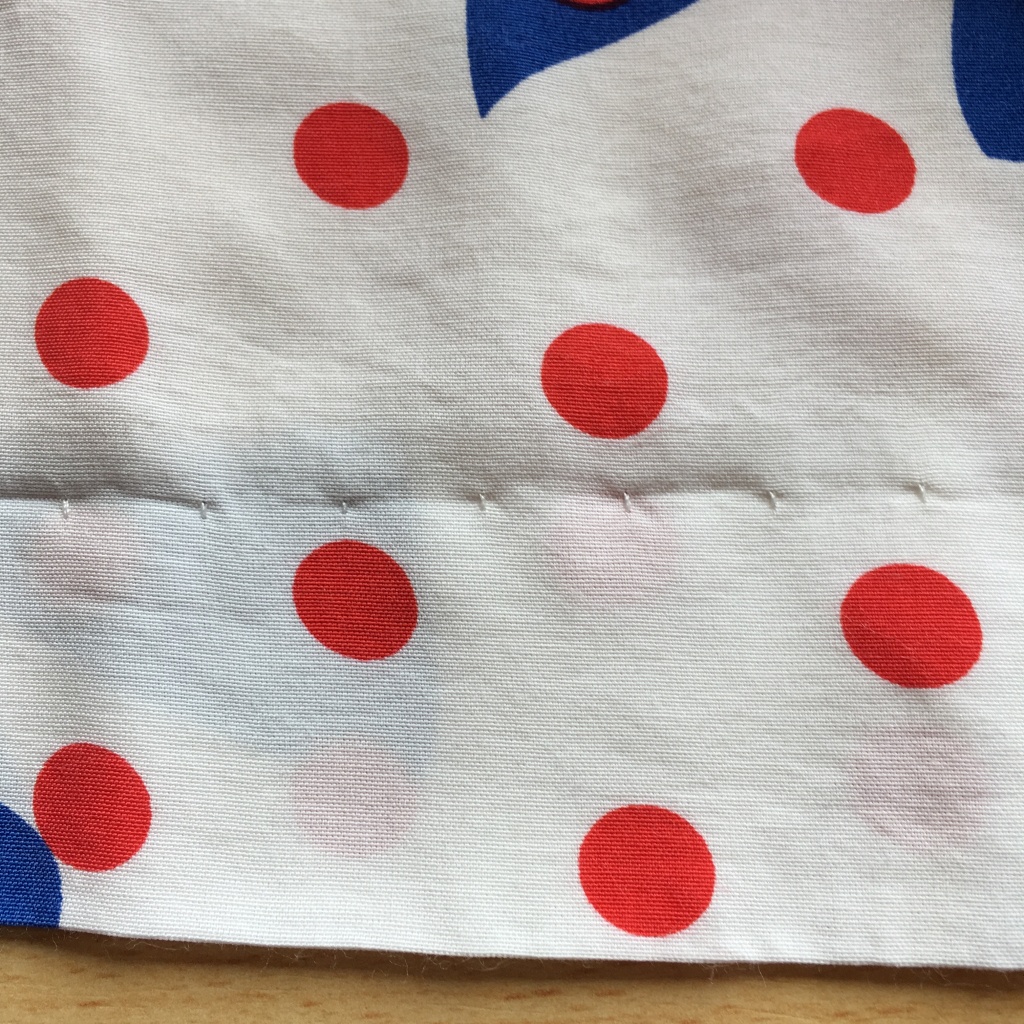
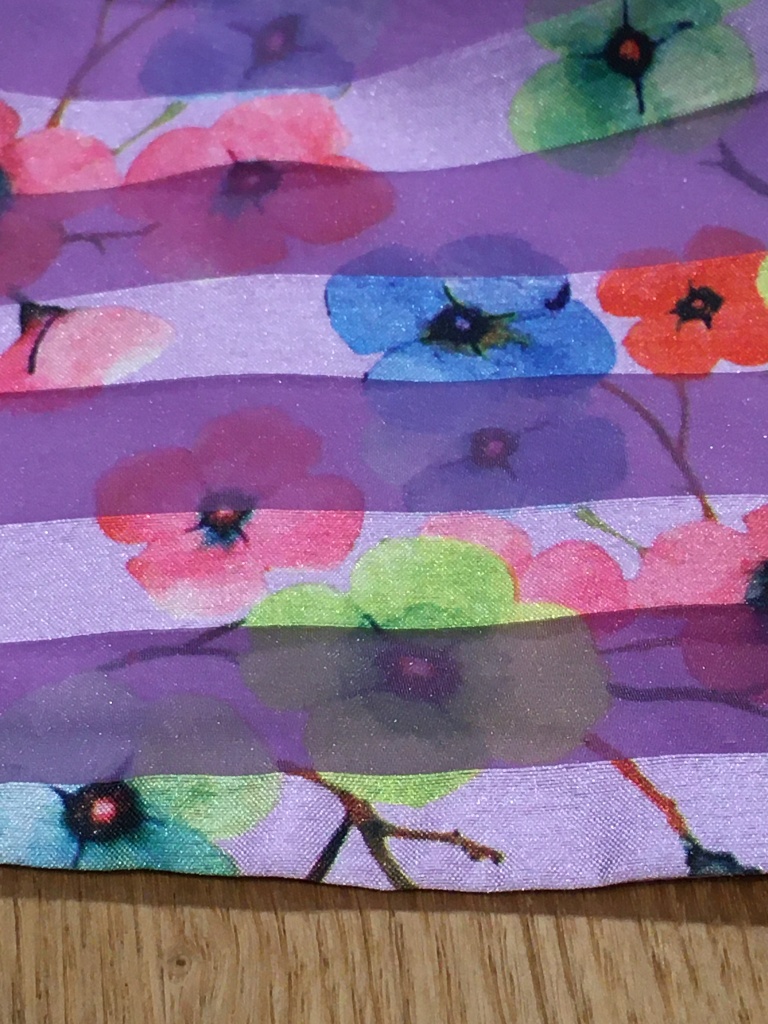
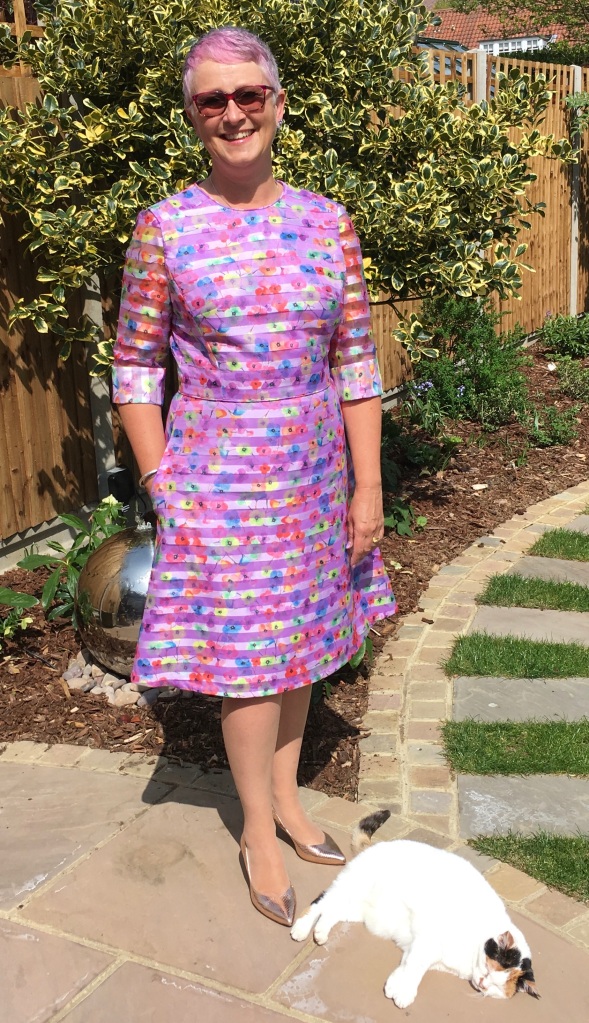
If you have the foot attachment and stitch capability for your sewing machine you can always try blind-hemming. I must admit I don’t use it that often, and only then on completely straight hems. There is a bit of a knack to it and I tend to only use it on a busy print which will disguise any botched bits (yes really!) or if I’m tight for time compared with any other method. It’s not quite the same quality of finish you will see on RTW clothes though which uses a specific machine to blind stitch the hem.


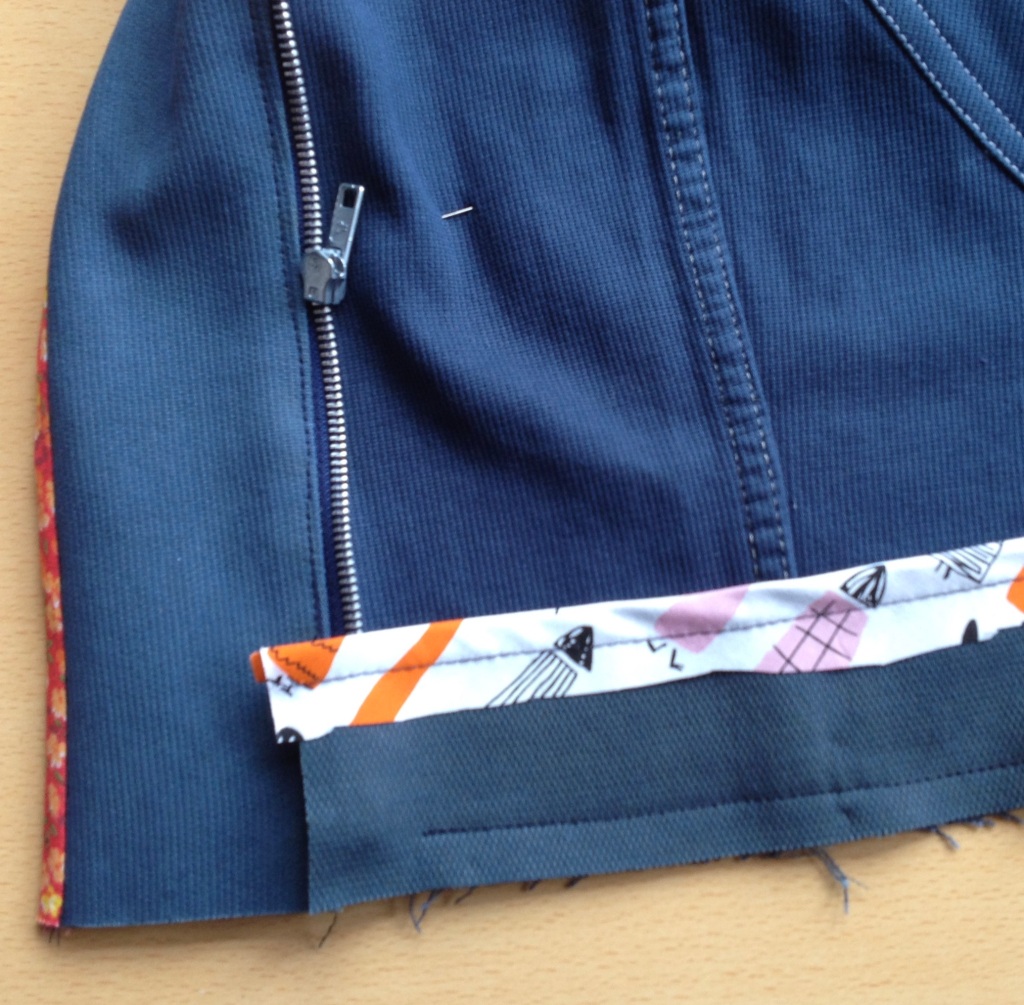
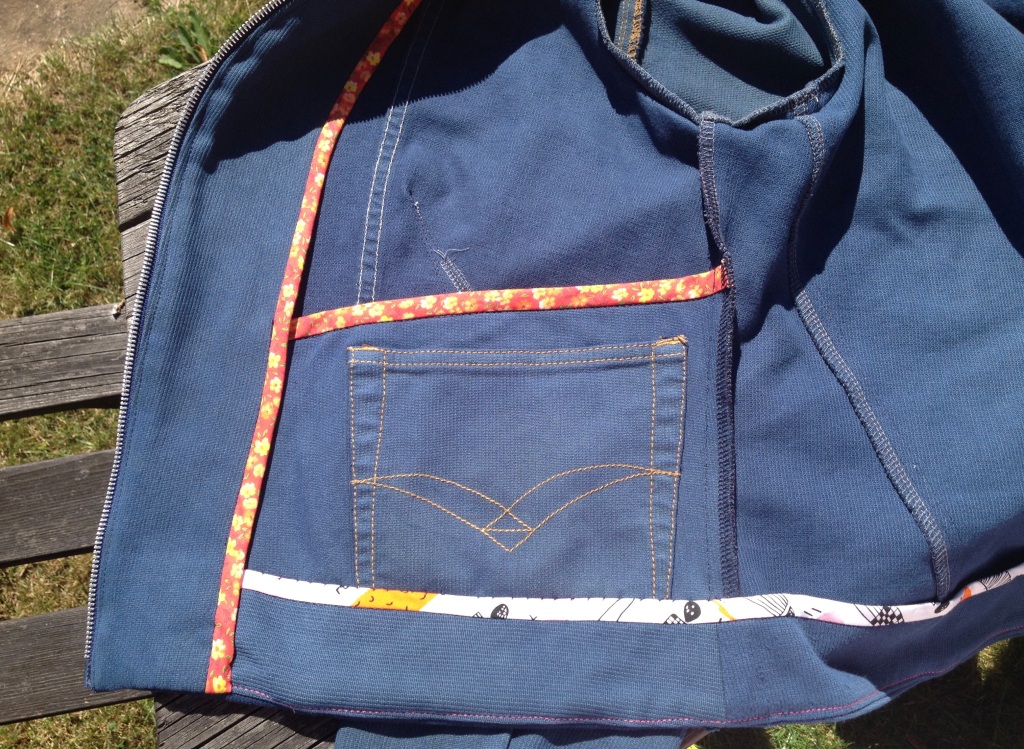
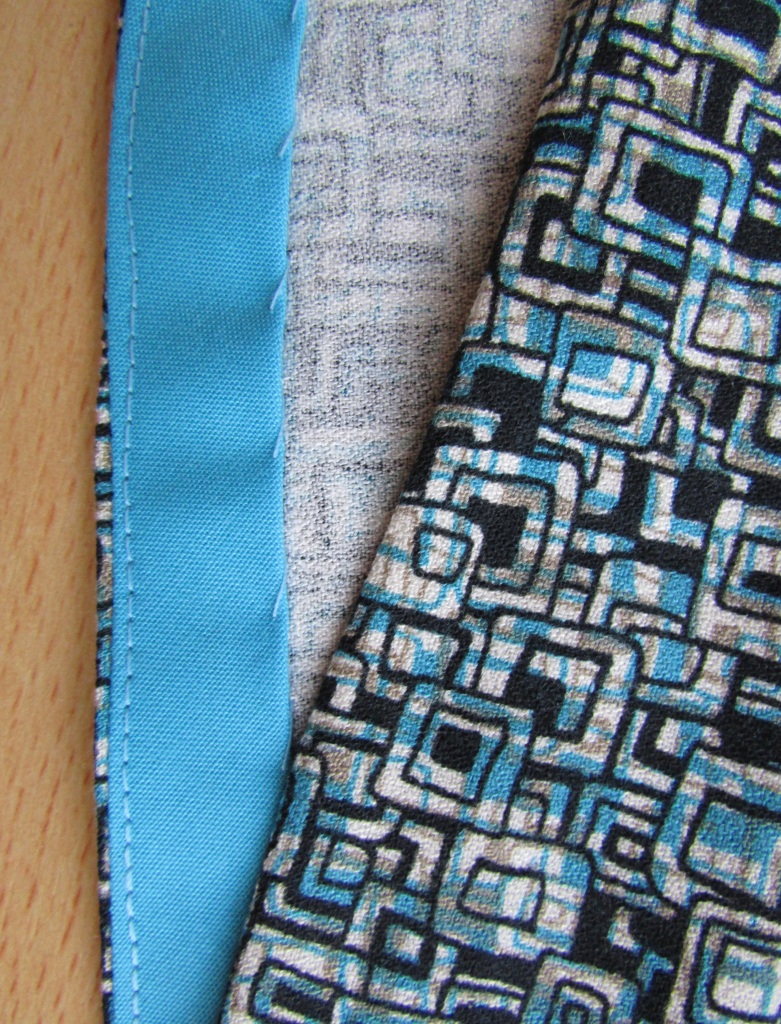
I think it’s worth mentioning that I like to use bias binding to neaten necklines (and armholes) too. I particularly like this as a way of avoiding using a neck or armhole facing which can be notorious for constantly rolling into view or flapping about annoyingly. The version you can see in the following two applications is a strip which I’ve folded in half lengthways first, the raw edges are matched and sewn. The seam is trimmed slightly and snipped if necessary, then turned so that the edge is enclosed and finally topstitched close to the folded edge to secure. In both the following examples I have sewn the binding on the wrong side of the fabric so that the binding turns to the outside to be visible and decorative but you could just as easily sew it to the right side so that it turns to the inside of the finished garment.


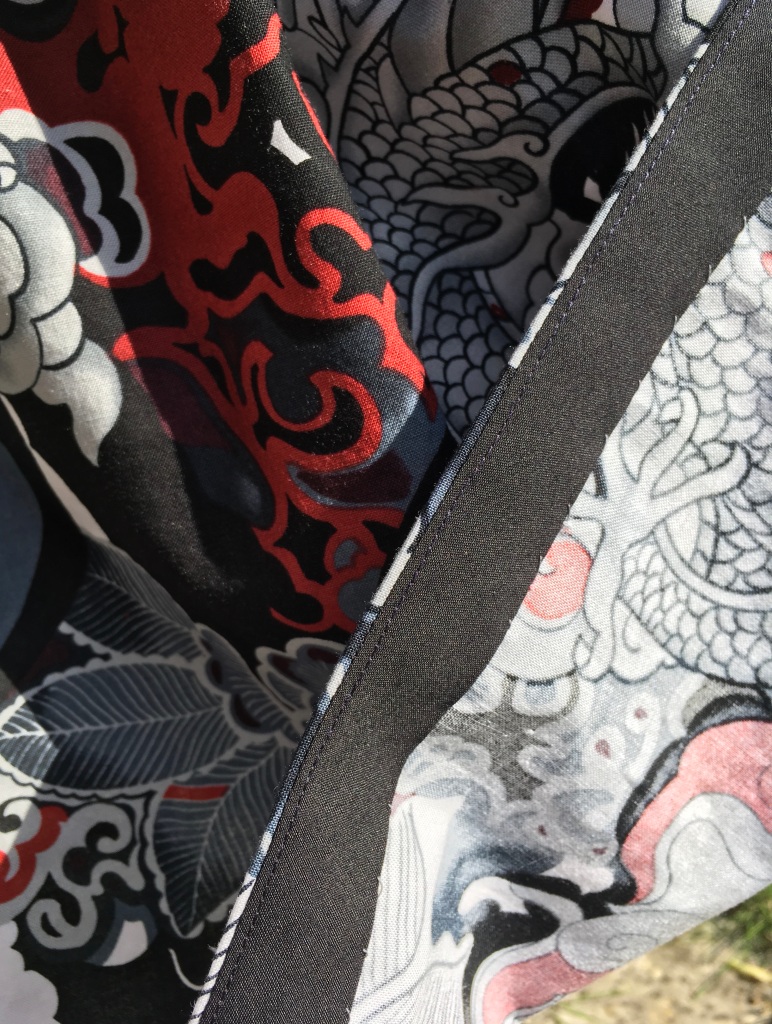
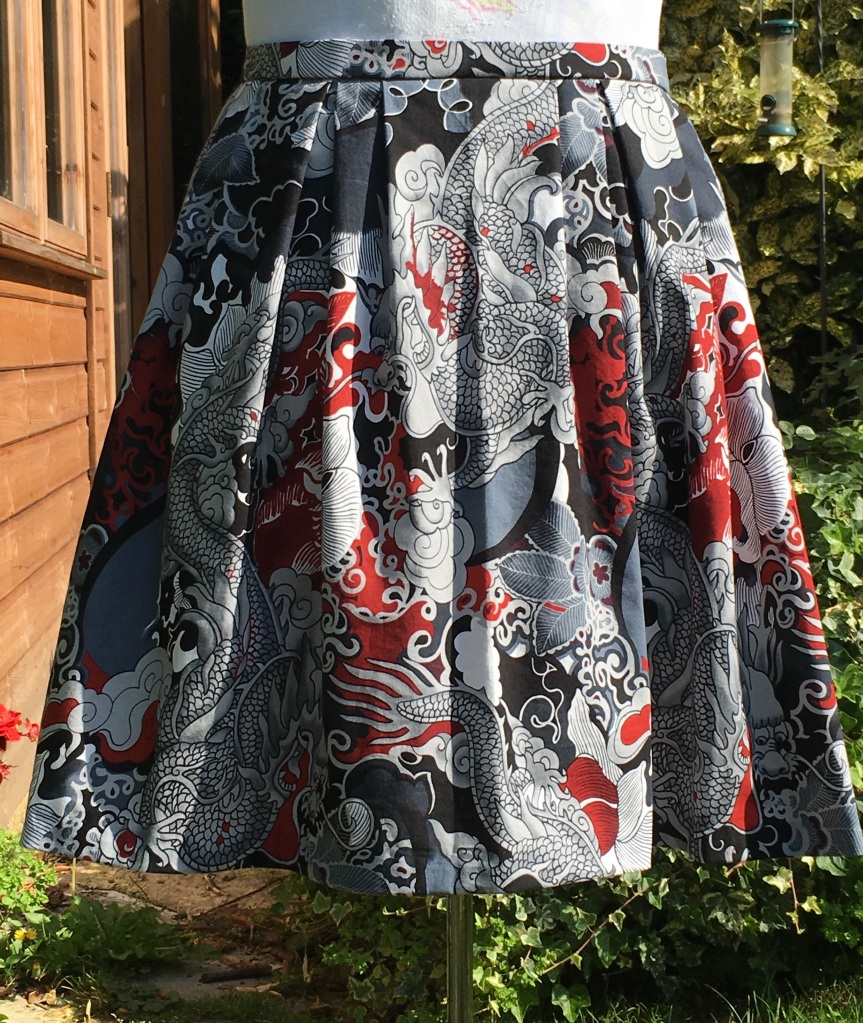
I’ve have included another variation of binding on a hem to show you how it can be combined with other techniques to achieve a quality finish. I used it here on a sheer organza which was mounted onto a backing fabric of slipper satin. This meant that when I turned the hem up the hand-stitching was invisible from the outside because the stitches only went through the mounting fabric.

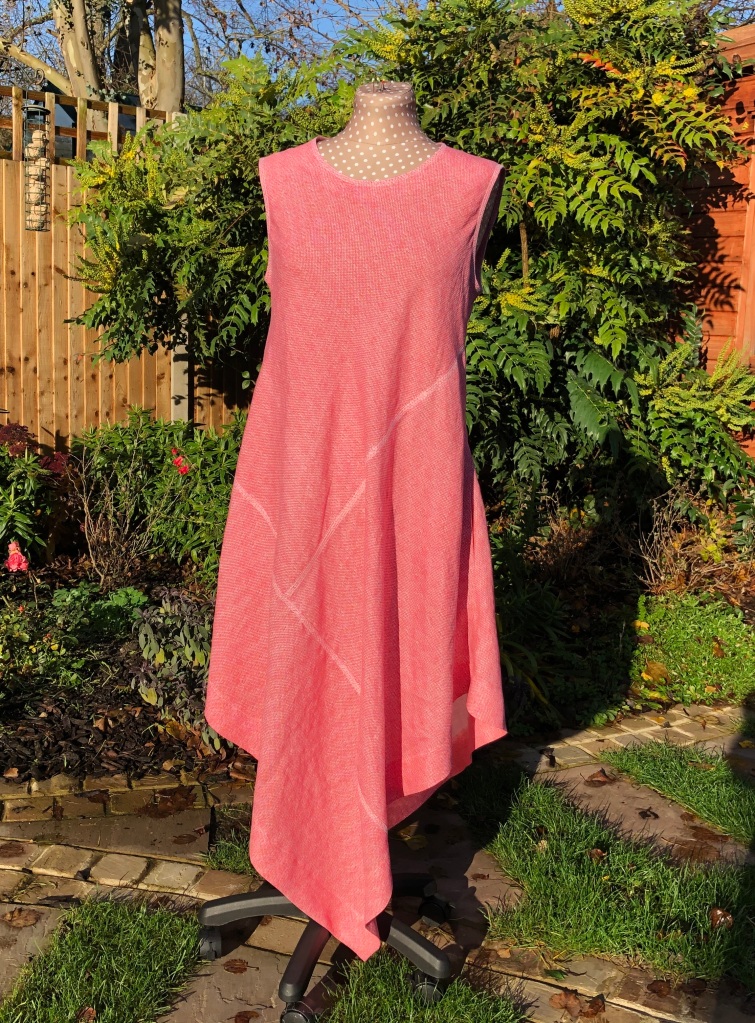
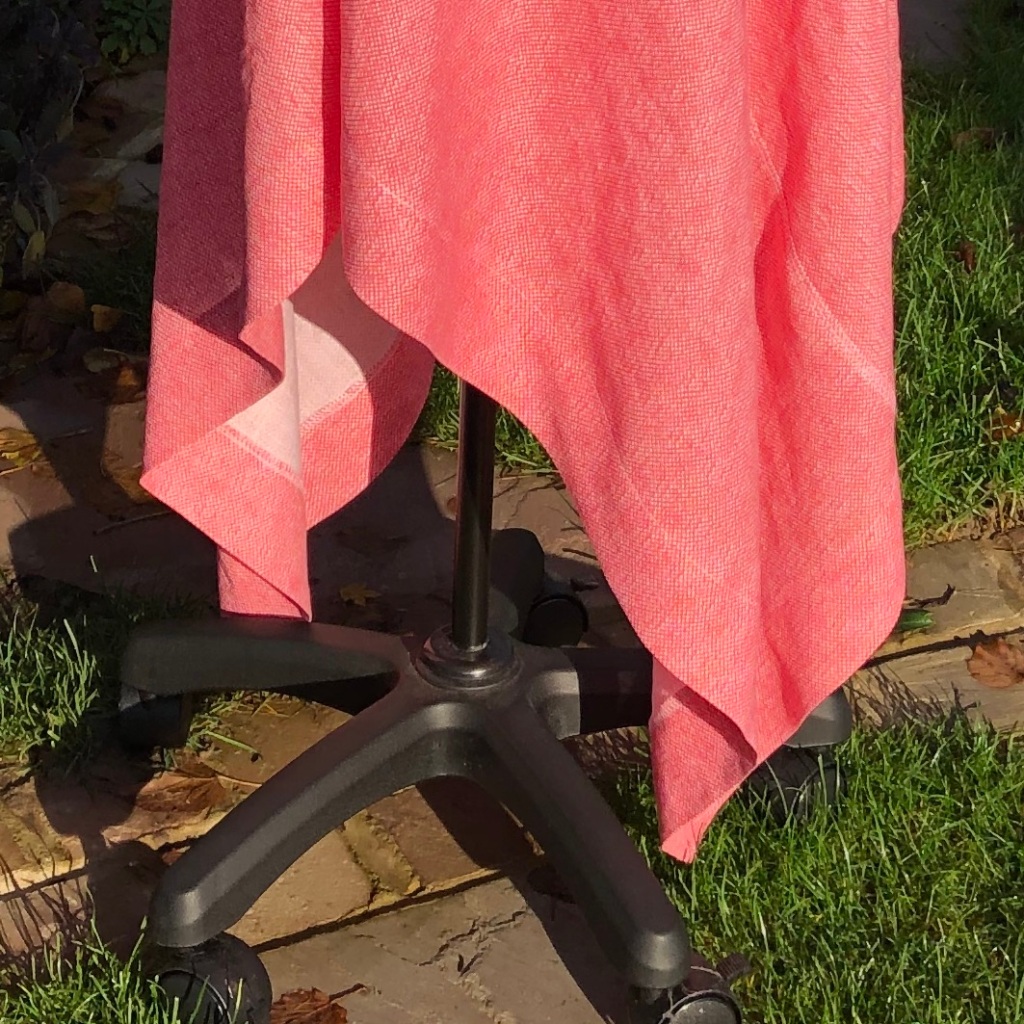
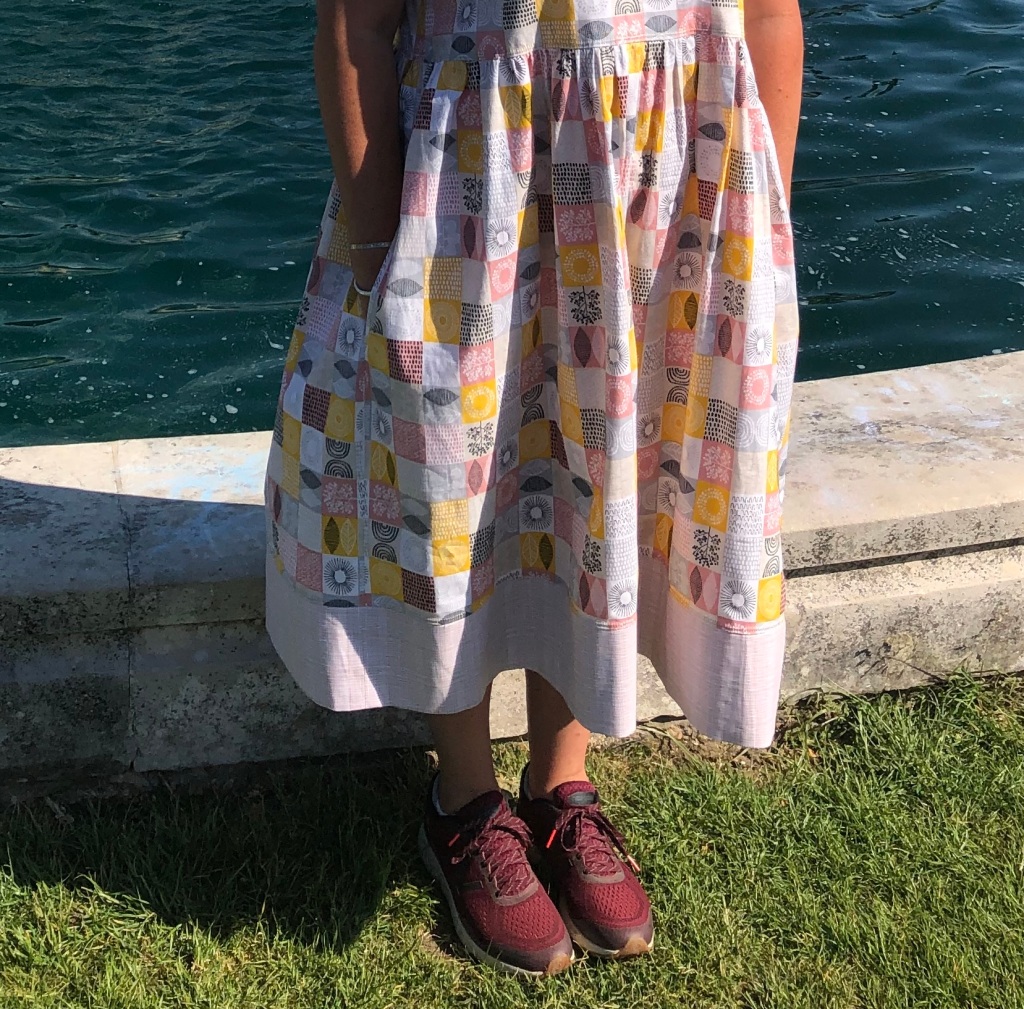
The next technique is more usually the choice of the pattern designer than the dressmaker, although if you know a little about pattern cutting you might be able to do it for yourself. This is an example of a deep grown-on faced hem on the Trend Patterns Square dress which I’ve made twice. It works brilliantly on this dress because the hem edges are straight (square!) plus it gives real weight to the hem which is another satisfying detail.

Pin hemming is a technique I’ve used for decades on fine fabrics. You can replicate it using a rolled hem foot attachment on your machine although it can be trial and error which size works best for you with variable results. I have two different sizes of foot, 2mm and 4mm and I can’t get on with either, I’ve since been told that 3mm is the optimum size for most fabrics but I’m not prepared to risk another mistake when I know I can achieve a good quality result this way instead.
Simply put, I turn over the raw edge by approximately 5mm and stitch very close to the folded edge. Carefully trim the excess close to the stitching line and give it a light press. Then turn again and stitch a second time on top of the first row of stitching. This particular example is from the Trend Bias T-shirt dress I made a few months ago.


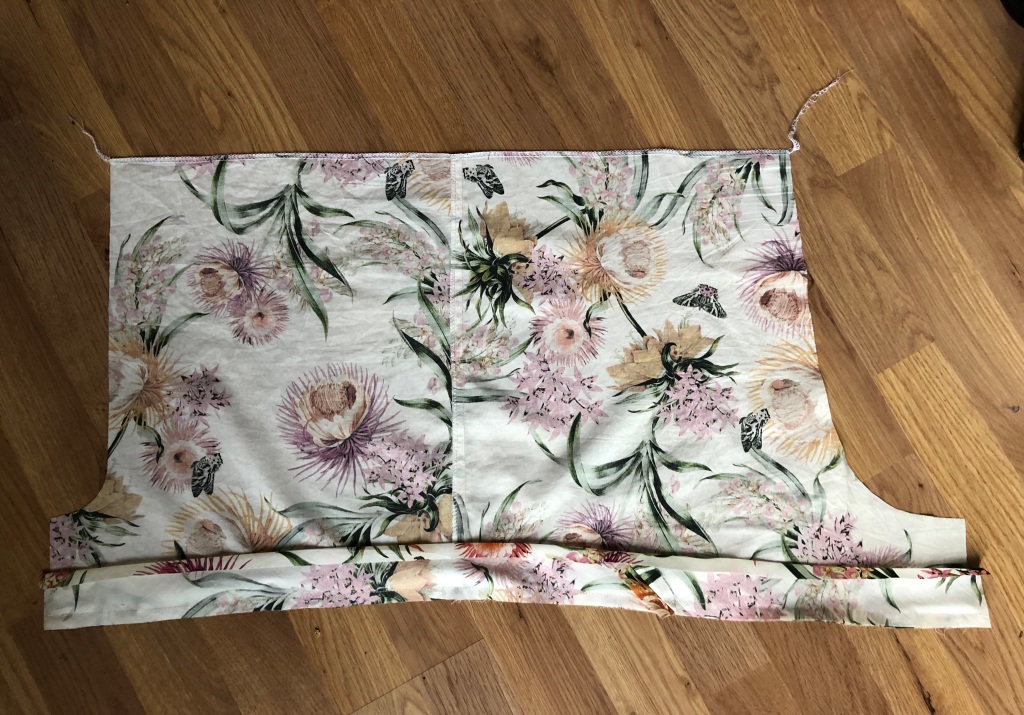
If you read about my pattern hack of the Simple Sew Cocoon dress you will see how this variation of hemming came about. I added a large chunk of fabric to give extra length to a dress that would have been too short without it. This method is probably best on a straight hem, you could use it on sleeves too.

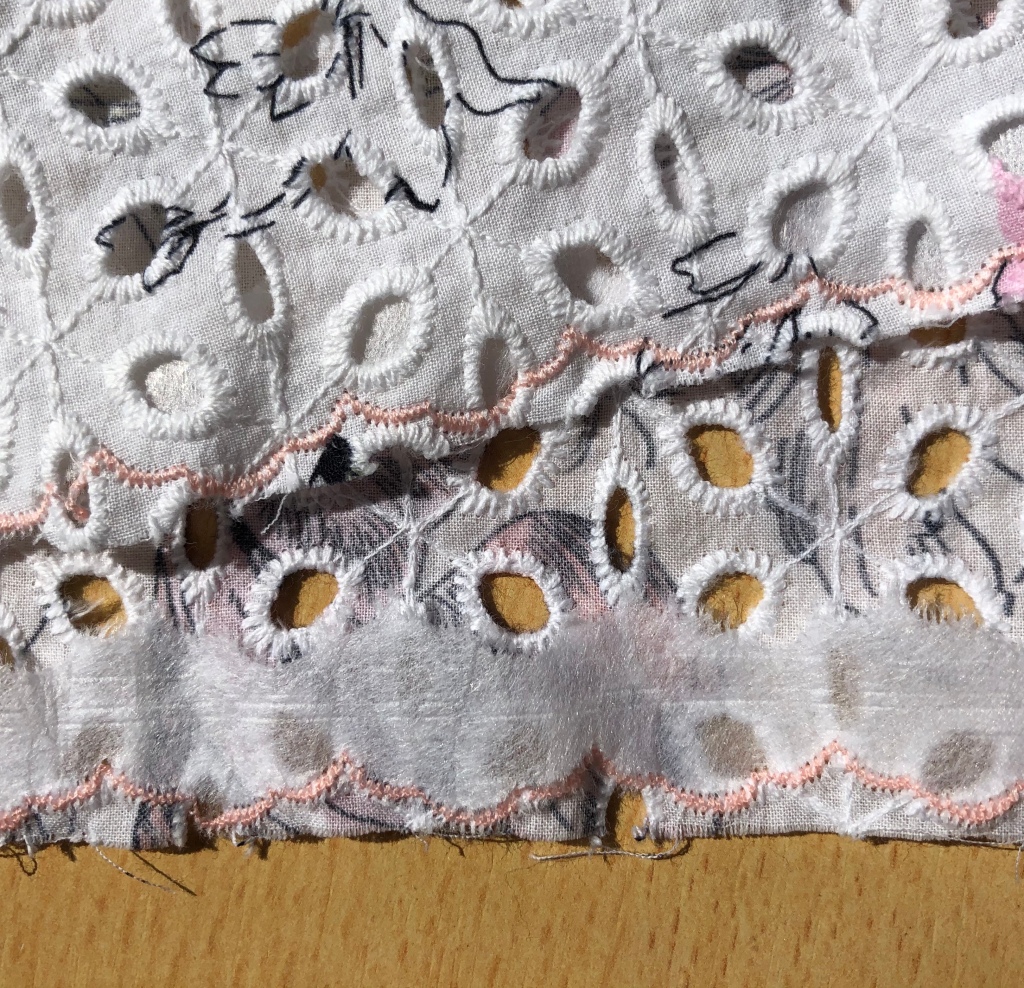
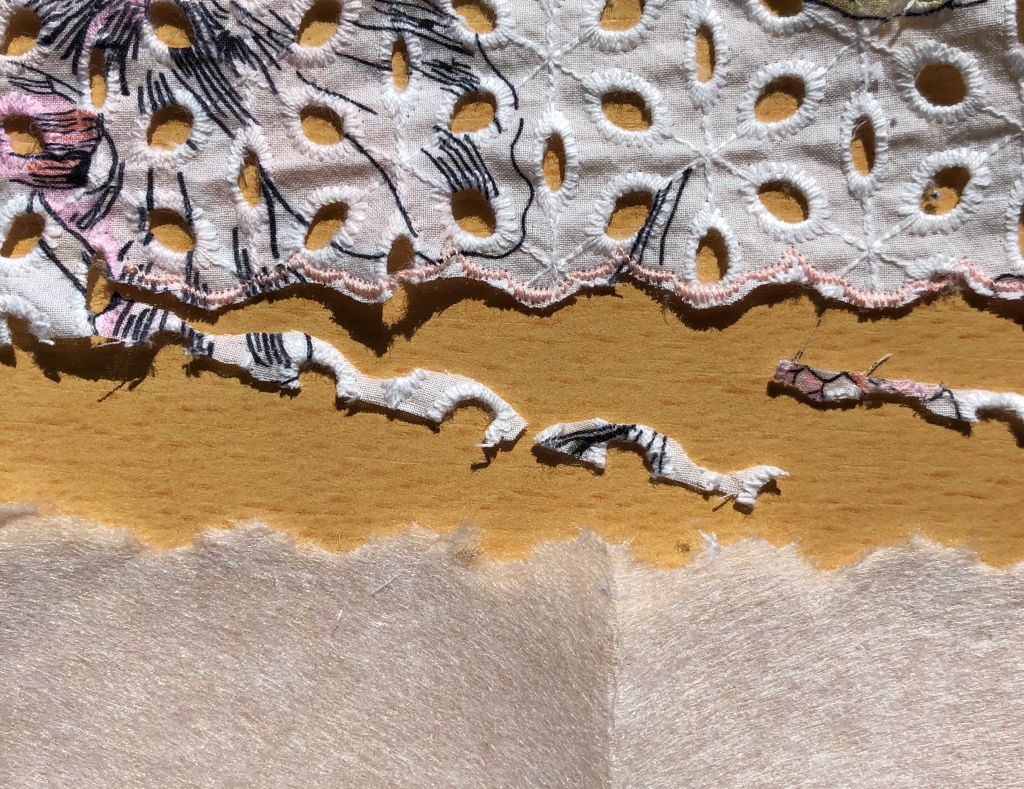
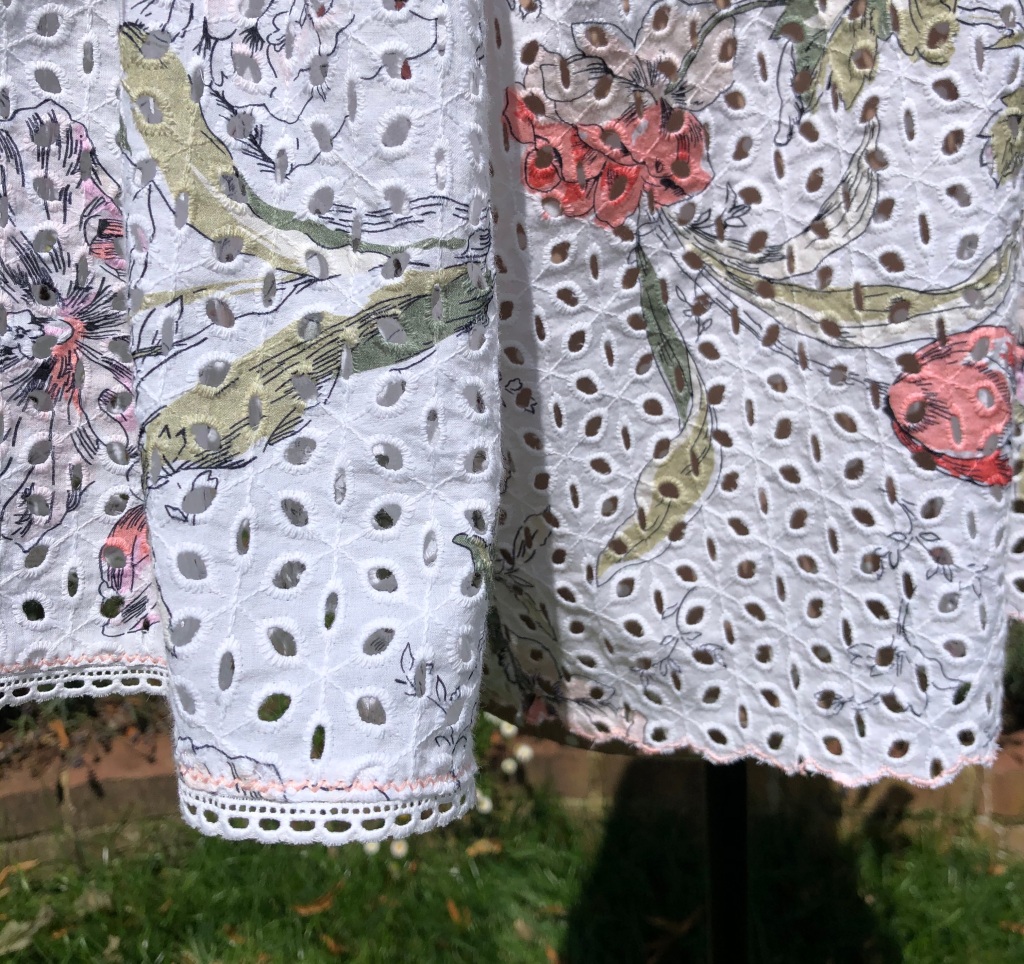
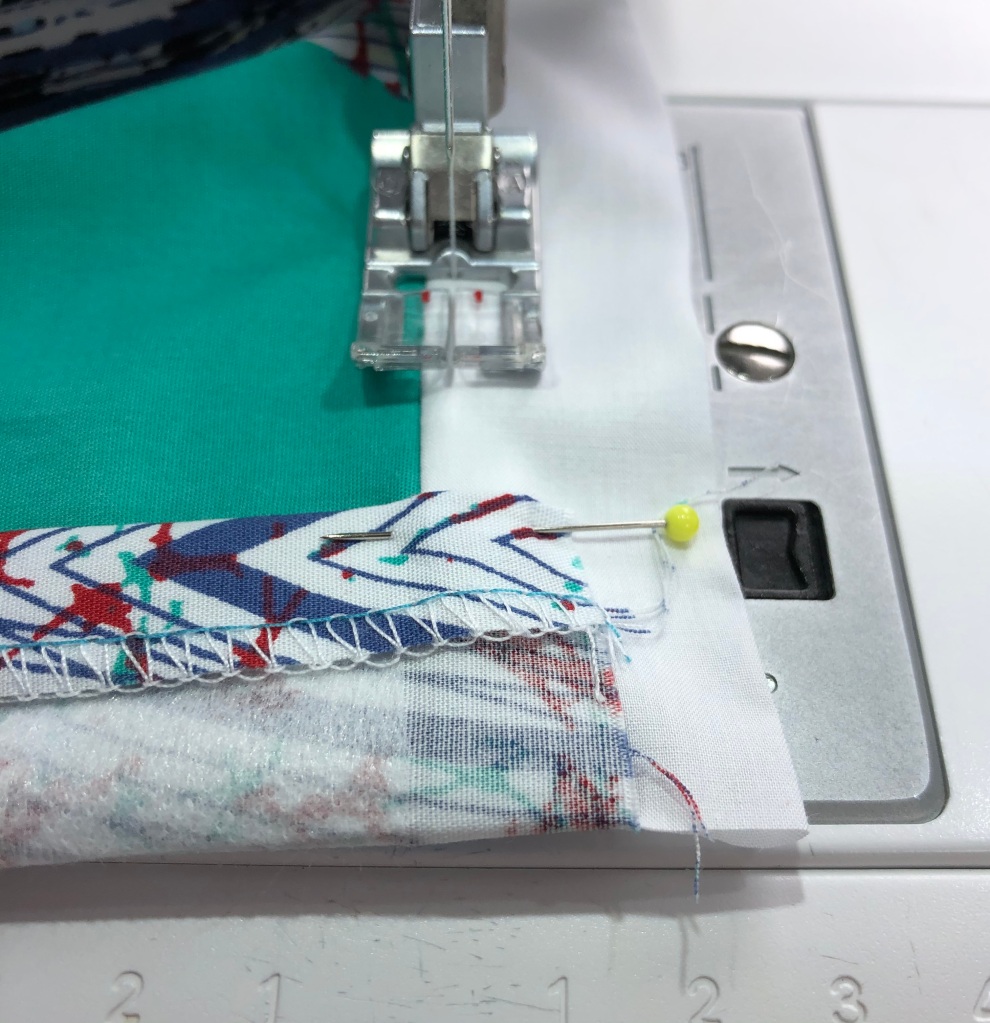
This next one is a very much trial and error. I used an edging stitch on my Pfaff sewing machine to hem this Broderie Anglaise blouse which I made recently.


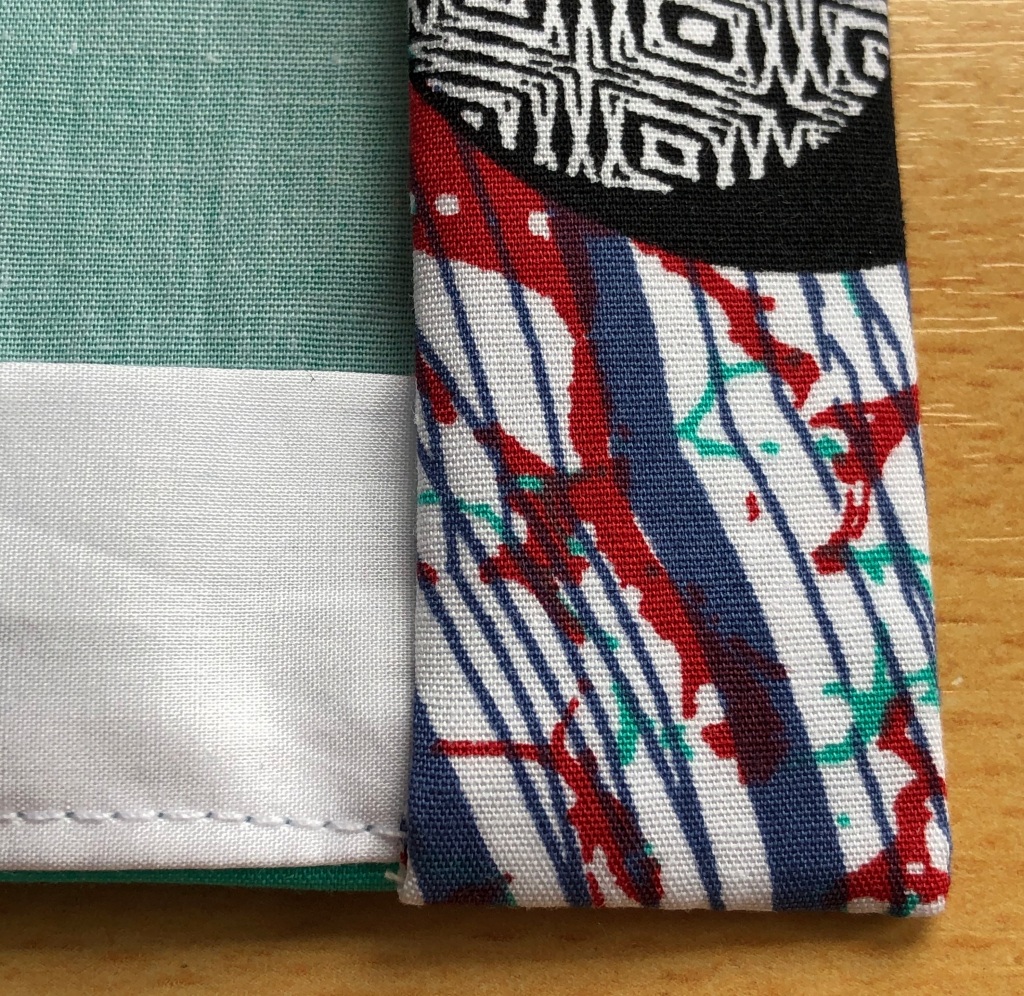
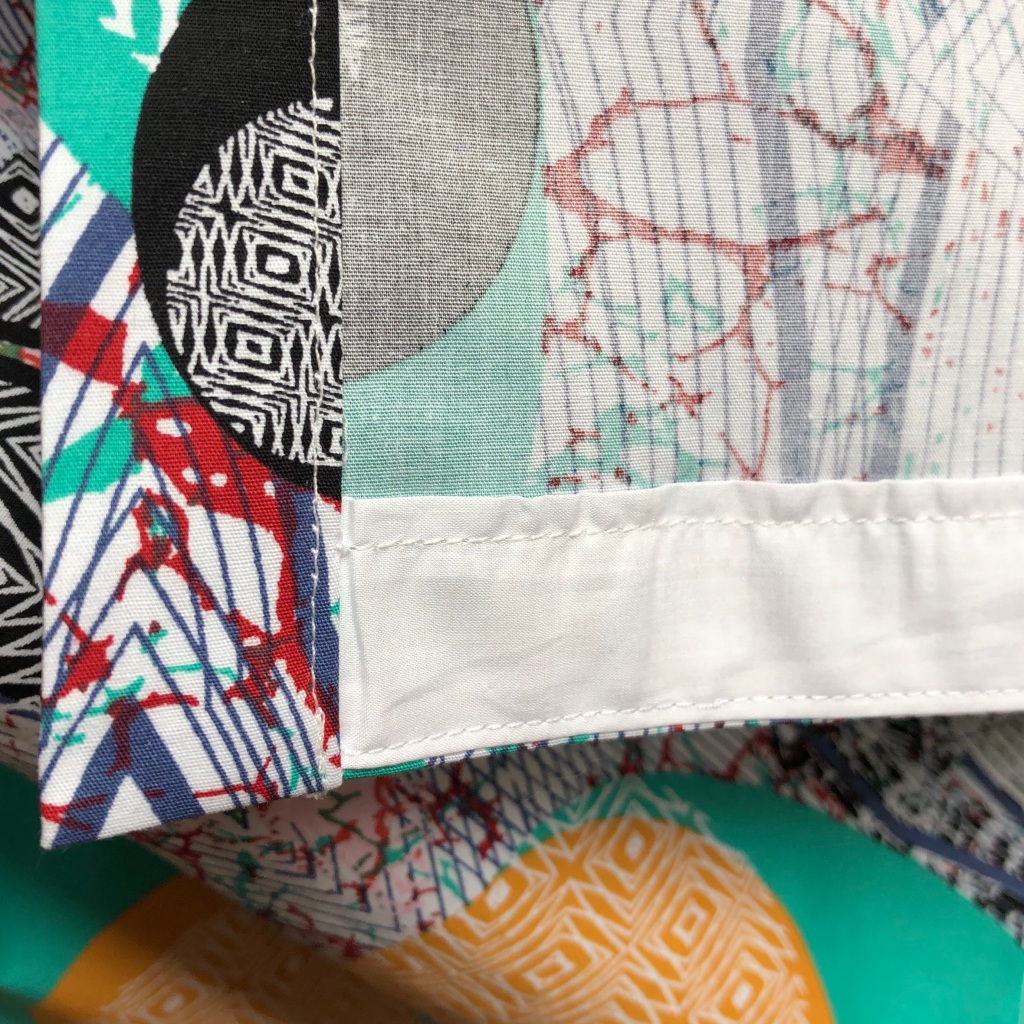
I’ve used a variation of a faced hem recently when, instead of bias binding, I used straight strips of fabric to turn up a straight hem on a dirndl skirt. There will be a blog of this particular garment coming soon…


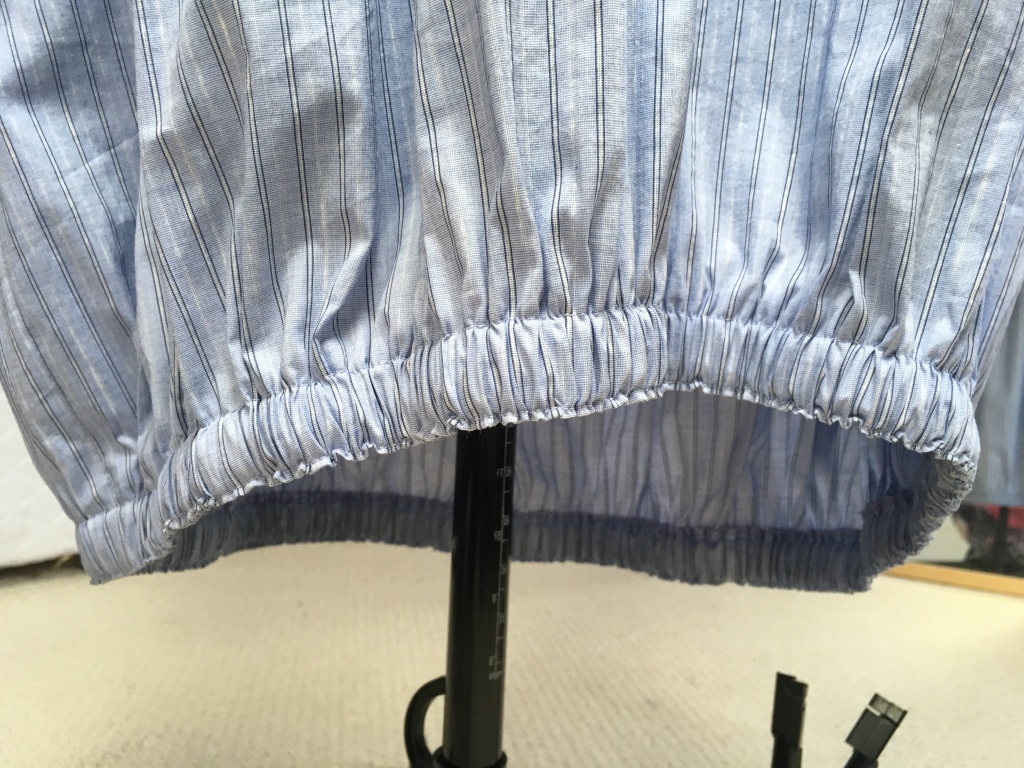
To finish with is a very simple method of rolling a fairly narrow hem. Overlock the edge first using three (or even two) threads then carefully turn it once and then again so that the overlocking is enclosed inside. If the fabric is quite ‘bouncy’ and won’t stay in position you could press the edge over once first and then roll it the second time. Whilst the result is wider than pin hemming it is narrower, and possibly quicker and more accurate, than a simple turned hem.


This last suggestion is from a project which will be blogged very soon. I cut 6cms wide bias strips which I used to create a self-neatening hem on a pair of pyjama shorts.


I hope you’ve found my suggestions useful or thought provoking, is there something here which you’ve never encountered before, or that’s made you think how you could use a technique you already know in a different way? The idea is to show you a few ways of finishing hems, or raw edges, in new and interesting ways. I’ve not included the usual hand stitching methods because there’s nothing new to think about, although please let me know if you use these methods in a more unusual application. Just because the pattern instructions tell you to finish the hem a certain way doesn’t necessarily mean you have to do it that way…although think it through carefully just in case the really is a reason!
Until next time, Happy Sewing
Sue

Thank you for this very informative and useful post. The pictures are especially helpful.
For children’s shorts and skirts I sometimes use a decorative stitch to finish the hem.
LikeLiked by 1 person
I love to use a decorative stitch on edges or hems, in fact I wrote a post on this very topic a couple of years back! It’s good to experiment isn’t it, and make our me-mades unique
LikeLike
Thank you for the comprehensive account of machine-sewn hems! I’ve tried one I like for very light-weight fabrics and call the zig-zag two step. Turn and press under the edge of the fabric 1/4″ or lightly serge it, turn and press. Topstitch on the right side using a double needle zig-zag. Of course, carefully experiment first to find the maximum width you can zig-zag with a double needle. This finish provides a bit of body to edges on very light-weight fabric and looks more decorative than a single row of stitching, IMO.
LikeLiked by 1 person
Hi, thank you for this idea, I like the sound of it so I’ll definitely try it out in future.
LikeLike
I neglected to include the edge should be turned under two times before topstitching.
LikeLiked by 1 person
So many great ideas here – thanks for all the details, instructions and photos. I am especially fond of the bias-faced hem on a blouse or a skirt – such smooth results and the extra weight helps the garment hang nicely.
LikeLike
I love all your tips and blog items! I was looking for a better way to re-hem an encapsulated hem (that’s what I’ve always called it when the lining and fabric are seamed together to form the hem). If you have any thoughts–I’d love to hear them. I can’t find much out there. Thanks, Lacey
LikeLike
Hi Lacey, without knowing exactly which method(s) you use for this I’m not what to suggest. I must admit I’ve learned a few things simply from doing alterations to RTW lined jackets and coats which I now incorporate. I think the Tilly Buttons Eden coat had a bagged-out hem so maybe take a look at what I wrote for that?
LikeLike
Thanks so much. I will!
LikeLike